How to Clean a Chlorinator Cell: The Ultimate 2025 Guide for Australian Pools

Is your pool looking a bit cloudy, even though the filter’s been running? Maybe your chlorinator is flashing “low salt” or “no flow” and you’re wondering what’s gone wrong. Nine times out of ten, it’s the salt cell. It’s one of the most common pool headaches, but luckily, it’s also one of the quickest fixes.
The chlorinator cell, aka salt cell, is the bit of your saltwater system that turns plain salt into chlorine using electrolysis. Without it, your pool can’t stay clean or healthy, no matter how much salt you add. When scale builds up on the plates, the whole process slows down.
This guide walks you through how to clean a chlorinator cell properly and safely. It’s written for Australian pool owners who want their water sparkling and their equipment lasting. Let’s start with why keeping the clean salt cell really matters.
Why a Clean Chlorinator Cell is Non-Negotiable for Your Pool
Think of your chlorinator cell as the beating heart of the pool system. When it’s clear and working properly, the water stays fresh and sanitised. Once scale coats the plates, chlorine output drops, the water balance tips, and suddenly you’re staring at a cloudy pool.
The Science of Scale Buildup
Saltwater flows through the cell’s plates, and electricity changes some of that salt into chlorine. Simple enough. But along the way, calcium carbonate, better known as scale, starts forming.
That’s the white, chalky crust you’ll often spot on the plates. It shows up when your pool water isn’t balanced. If the Langelier Saturation Index (LSI/CSI) is too high or if the pH spikes near the plates during electrolysis, calcium falls out of the water and hardens.
Ever seen the crust inside a kettle after months of boiling hard water? Same idea here. The thicker the crust, the less efficient your salt cell becomes.
The Impact of a Dirty Cell
The fallout is pretty clear:
- Less chlorine is made, so the pool turns cloudy or green.
- The power pack strains harder to push current through the buildup.
- Leave it long enough, and the plates get damaged, meaning you’re up for a new cell.
A clean salt cell doesn’t just look good. It cuts power use, protects your gear, and keeps the pool ready to swim.
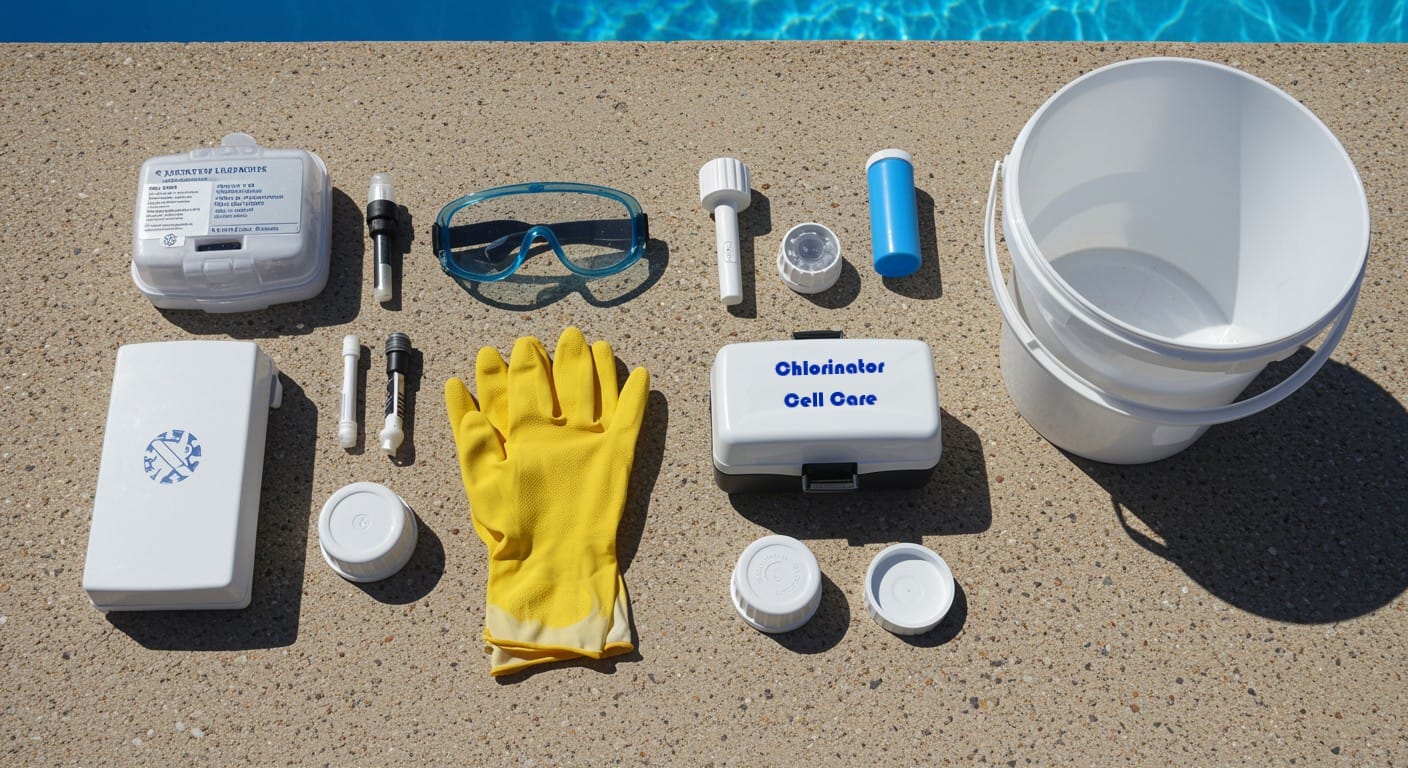
Preparation: Your Toolbox and Safety
Take a few minutes to set up before cleaning. The right prep makes the job faster, safer, and less messy.
Your Safety and Tool Checklist
|
Safety Gear (Non-Negotiable) |
Cleaning Supplies: |
|
Chemical-Resistant Gloves |
A plastic bucket (at least 10 litres) |
|
Goggles or a Face Shield |
A chlorinator cell cap or stand (for stability) |
Have these ready on hand so you’re not scrambling halfway through.
Choosing Your Cleaning Solution
Two ways to go here:
- Commercial Cell Cleaner (Best option): Look for something approved by the APVMA. Designed for pool gear, simple to use, no fuss.
- DIY Muriatic Acid Mix: One part acid to ten parts water. And here’s the golden rule: ALWAYS ADD ACID TO WATER, never water to acid. Reverse it, and you risk heat and splashing. Different brands may suggest their own ratio, so double-check the label before mixing.
Once you’ve got your gear and solution sorted, you’re ready to roll.
The Step-by-Step Chlorinator Cell Cleaning Guide
It might sound a bit full-on, acid and electricity don’t exactly scream “DIY”, but cleaning a chlorinator cell is straightforward if you take it step by step. Here’s the process.
Step 1: Power Down the Entire System
Head to your breaker box and switch off the pool system completely. Don’t just flick the pump switch; you want the whole lot shut down to stay safe.
Step 2: Disconnect and Remove the Cell
Find the two threaded unions on either side of the cell. Unscrew them by hand. If they’re stuck, a gentle turn with a wrench will do. Expect a splash or two of water when you pull it out.
Step 3: Inspect and Secure the O-Rings
Check the rubber o-rings in the unions. If they’re brittle or cracked, replace them. If they look fine, set them aside somewhere you won’t lose them.
Step 4: Perform the Preliminary Rinse
Grab the garden hose and blast both ends of the cell. This knocks out loose debris and larger bits of calcium before you bring in the acid. It also prevent scale in salt cell.
Step 5: Safely Prepare the Cleaning Solution
Fill your bucket with water first. Then, slowly add the acid. Keep gloves and goggles on. Never switch the order; it’s water first, acid second.
Step 6: Submerge the Cell for a Timed Soak
Stand the cell upright in its cap or holder and pour in the mix until the plates are covered. Acid wash salt cell. You’ll hear fizzing right away. That’s the acid breaking down the scale. The fizzing sound is normal. Soak for 10 minutes, add 5 more if needed, but never go past 20 or you’ll damage the plates.
Step 7: Conduct the Final, Thorough Rinse
Dispose of the solution responsibly (check your council’s rules). Then rinse the cell under the hose for a good two to three minutes to wash away any acid left behind.
Step 8: Reassemble and Hand-Tighten
Pop the o-rings back into place, check the flow direction arrow on the cell, and tighten the unions by hand. Wrenches here are risky, they can crack the housing.
Step 9: Power Up and Perform a Leak Check
Switch the breaker back on. Once water’s flowing again, watch the unions closely for drips or leaks.
|
Step |
Tool/Equipment |
Safety Notes |
|
1 |
Breaker switch |
Ensure full system is powered down |
|
2 |
Wrench, gloves |
Expect minor water splash |
|
3 |
Rubber O-rings |
Inspect for cracks, replace if necessary |
|
4 |
Garden hose |
Rinse loose debris |
|
5 |
Bucket, acid |
Always add acid to water, wear gloves/goggles |
|
6 |
Stand/cap |
Soak 10–15 min, max 20 min |
|
7 |
Hose |
Rinse thoroughly, dispose of solution responsibly |
|
8 |
Unions/O-rings |
Hand-tighten only |
|
9 |
Breaker |
Check for leaks |
Complementing Your Clean Cell with a Clean Pool
Cleaning the cell is half the job. Keeping water chemistry in check is the other. High pH or calcium hardness makes scale come back quicker.
Optional devices, such as real-time water monitors, can help track pH, ORP, and calcium levels to reduce scale formation. Pair that with regular manual cleans, and your pool system runs smoother for longer.
Conclusion
A clean chlorinator cell keeps your pool clear, your gear protected, and your running costs lower. The essentials are simple: always use the right safety gear, follow the nine cleaning steps, and stay on top of water balance to slow down scale.
The whole job takes about 15 minutes every few months. That small effort saves you money on salt chlorinator maintenance, stops unnecessary replacements, and makes sure your pool is always swim-ready.
Want to take the hassle out of pool care completely? Explore Aiper’s range of robotic pool cleaners. Together with regular Australian pool care, they give you a true set-and-forget pool that’s always sparkling.
FAQs: Your Pool Chlorinator Questions Answered
Q1: How to tell if a salt cell needs cleaning?
A: Look for white, flaky deposits (calcium scale) on the metal plates inside. Also, a "low salt" or "check cell" warning on your chlorinator, despite correct salt levels, is a strong indicator it needs cleaning.
Q2: What chemical cleans a salt cell?
A: A diluted muriatic (hydrochloric) acid solution is the standard. For a safer option, use a specifically formulated commercial chlorinator cell cleaner, which is highly recommended for protecting the cell's coating.
Q3: Can I use vinegar to clean a chlorinator cell?
A: While vinegar is a mild acid, it's generally not strong enough to effectively remove moderate to heavy calcium buildup. Using the correct cleaning solution will save time and ensure a thorough clean.
Q4: How long to let muriatic acid sit in a salt cell?
A: Soak the cell for 10-15 minutes. Never exceed 20 minutes, as prolonged exposure to acid can permanently damage the cell's delicate metallic plates, leading to a costly replacement.
Q5: What happens if you don't clean a salt cell?
A: Scale buildup will insulate the plates, severely reducing chlorine production and leading to cloudy or green water. The system will work harder, increasing energy costs and potentially damaging the equipment over time.
Q6: Why does my salt cell get dirty so fast?
A: This is almost always caused by improper water balance. High pH, high alkalinity, or high calcium hardness levels in your pool water will significantly accelerate scale formation on the cell.
Q7: How to clean a salt cell without a stand?
A: You can use the original screw-on caps if you kept them. Alternatively, carefully stand the cell upright in a clean plastic bucket, ensuring it is stable and won't tip over when you add the cleaning solution.