How to Read a Soil Test: A Complete Guide for Australian Lawns
A soil test reveals your lawn’s exact nutrient needs. By understanding pH, CEC, organic matter, and key nutrients, Australian homeowners can apply the right fertilisers, improve soil health, and grow a stronger, greener lawn without wasting money.

Receiving a soil lab report can feel like being handed a chemistry textbook written in a foreign language. Pages filled with cryptic abbreviations like ppm, meq/100g, CEC, and bewildering columns of numbers often leave even keen gardeners scratching their heads.
It's tempting to toss the report aside and revert to guessing which fertiliser to buy. However, this guesswork is precisely why many Australian lawns struggle despite their owners' best efforts. Applying the wrong nutrients wastes money, pollutes local waterways, and can actively damage your grass.
Learning how to read a soil test transforms this confusing document into the most powerful tool in your gardening arsenal. This guide will translate the science into a simple, actionable plan for achieving the lush, resilient lawn you've always wanted.
The "Big Three" Metrics: Soil pH, CEC, and Organic Matter
Before diving into the individual nutrients, a soil test report typically presents three foundational metrics that dictate how well your entire lawn ecosystem functions. Understanding these is the first step in interpreting your soil analysis correctly.
Understanding Soil pH (The Gatekeeper)
Think of soil pH as the "gatekeeper" of your lawn. It measures the acidity or alkalinity of your soil on a scale of 0 to 14, with 7 being neutral. This single number controls the entire show. If your pH is outside the ideal range, your grass physically cannot "eat" the fertiliser you apply, no matter how much money you spend on premium products. The nutrients are literally locked in the soil, unavailable to the plant roots.
Here is where many Australian homeowners get confused. Unlike in the US or UK, Australian laboratories often use two different testing methods, and your report may show both. You need to know which one to look at:
- pH (Water): This measures pH in a distilled water solution. It is the most common method and generally shows a slightly higher reading. The ideal range for most Australian lawns using this method is 0 – 7.5.
- pH (CaCl2): This measures pH in a calcium chloride solution and is considered a more stable and scientifically accurate method, as it isn't influenced by soluble salts in the soil. This value is typically 0.5 to 1.0 lower than the pH (Water) reading. The ideal range for pH (CaCl2) is 2 – 7.0.
You don't need to memorise both, but you must check which method your lab used. If you see a reading of 5.8 and panic because it looks acidic, check the column header—if it says "CaCl2," a reading of 5.8 is perfectly healthy according to Australian soil quality guidelines. Understanding this distinction is a fundamental part of learning how to read a soil test correctly.
Cation Exchange Capacity (CEC)
If pH is the gatekeeper, Cation Exchange Capacity (CEC) is the soil's "fuel tank size." It measures your soil's ability to hold onto essential nutrients (cations like calcium, magnesium, and potassium) and prevent them from washing away with rain or irrigation.
- Low CEC (<5): This indicates sandy soil, common in coastal areas of Queensland, New South Wales, and much of Western Australia. Like a small fuel tank, it holds very little water or nutrients. Everything drains through quickly. The action plan for low CEC soil is to apply fertiliser in frequent, small doses rather than one big feed, which would simply wash away.
- High CEC (>20): This indicates clay soil, prevalent in parts of Victoria and inland regions. Like a large fuel tank, it holds nutrients very well. However, the challenge with high CEC soil is drainage and aeration; it can become easily waterlogged and compacted, suffocating the roots.
Organic Matter (OM)
Listed as a percentage, Organic Matter (OM) represents the "life" of your soil—the decomposed plant material, microbes, and living organisms that create a healthy ecosystem. Australian soils, particularly in established suburban areas, are notoriously low in organic matter, often sitting below 2-3%. A healthy lawn typically thrives with OM above 5%.
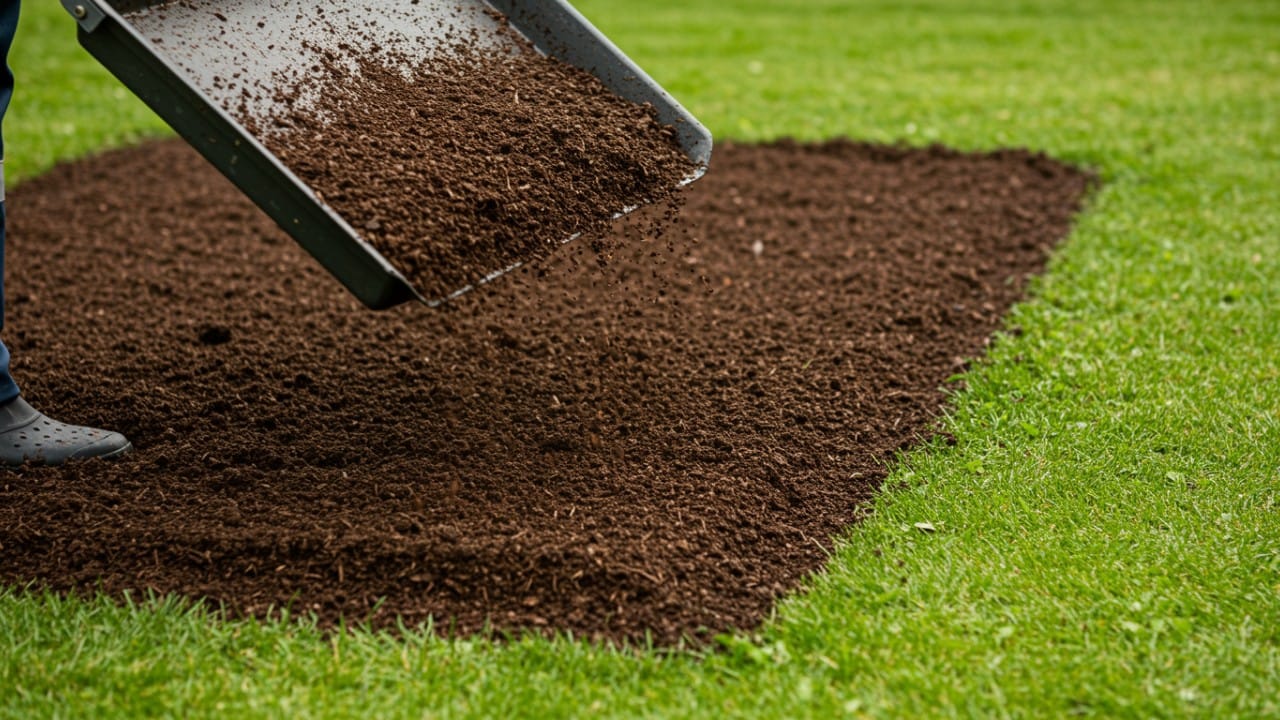
Organic matter acts like a sponge, holding moisture and nutrients in sandy soils, and like a binding agent, improving structure and aeration in clay soils. If your report shows low OM, your primary goal should be improving soil microbial health through top-dressing with compost or using organic lawn conditioners that introduce beneficial bacteria that boost nutrient uptake.
Decoding Nutrients: What Your Lawn Actually Needs
Once you understand the soil's structure (pH, CEC, OM), you can accurately interpret the nutrient levels. Your soil test will list a range of elements, but for lawn health, you can group them into primary, secondary, and micronutrients.
Primary Macronutrients (N-P-K)
These are the three numbers you see on every fertiliser bag, and they are the workhorses of plant growth.
- Nitrogen (N): This is the engine for leaf growth and green colour. It's what makes your lawn look lush and vibrant. However, nitrogen is incredibly mobile in the soil. Rain and watering move it around, and grass consumes it quickly. A soil test for nitrogen is often just a "snapshot in time" and can fluctuate wildly. Use the result as a general guide, but pay more attention to your grass's appearance—if it's pale green or yellowing, it's likely crying out for nitrogen.
- Phosphorus (P): Essential for strong root development and establishment. Unlike nitrogen, phosphorus is relatively immobile in the soil. Many Australian native soils are naturally low in phosphorus, and while lawn grasses need it, native plants can be sensitive to high levels. For your lawn, it's critical to follow the soil test's phosphorus recommendation strictly. Over-applying phosphorus not only harms native vegetation if it runs off into bushland but can also pollute rivers and creeks.
- Potassium (K): Think of potassium as the "stress relief" nutrient. It strengthens cell walls, improves drought tolerance, helps the lawn withstand cold snaps, and builds resistance against diseases. If your lawn is in a high-traffic area or you experience harsh summers, ensuring adequate potassium is key to its survival.
Secondary and Micronutrients
These are required in smaller amounts, but a deficiency in any one can cause significant problems.
- Calcium (Ca) and Magnesium (Mg): These work together. Calcium is crucial for cell wall structure, while magnesium is the central atom in the chlorophyll molecule (what makes plants green). Your soil test will show their levels, often in relation to your CEC. An imbalance (too much magnesium relative to calcium) can lead to compacted, greasy soil.
- Iron (Fe): This is a common culprit for yellowing lawns. If your soil test shows adequate nitrogen but your lawn is still pale green or yellow with dark green veins (a condition known as interveinal chlorosis), the report might reveal an Iron deficiency. This is particularly common in alkaline soils (high pH) where iron becomes unavailable to the plant, even if it's physically present in the soil.
Interpreting the Results: The "Traffic Light" System
To make sense of the columns of numbers, use a simple "traffic light" mental model. Most professional soil reports will provide a "low," "adequate," or "high" range. Here's how to translate that into action.
- 🔴 Low (Deficient): The number is below the target range. The light is red—you must stop and take action. This nutrient is lacking and will limit your lawn's growth. Your action plan is to add this specific nutrient according to the lab's recommendation rate.
- 🟢 Optimal: The number sits comfortably within the target range. The light is green—proceed as normal. Your action plan is to maintain with a balanced maintenance fertiliser. Do not add extra of any single nutrient, or you risk pushing it into the excess zone.
- 🛑 High (Excess): The number is above the target range. The light is flashing red—stop immediately. Do not apply any fertiliser containing this nutrient. Excess nutrients don't just go to waste; they can actively harm your lawn by "locking out" other minerals. For example, too much phosphorus can block the plant's ability to uptake zinc and iron, causing deficiency symptoms even when those nutrients are present in the soil.
From Report to Action: Correcting Your Soil
Reading the report is one thing; fixing the problems is the next step. Here is how to translate those lab results into physical action in your garden.
Adjusting pH Levels
If your pH is outside the ideal range, correcting it should be your top priority before you spend money on fertilisers.
- To Raise pH (Soil Too Acidic): If your pH (Water) is below 6.0, your soil is too acidic for optimal lawn growth. The standard remedy is to apply Lime (Calcium Carbonate). This gradually neutralises acidity.
- To Lower pH (Soil Too Alkaline): If your pH (Water) is above 7.5, your soil is too alkaline. This is common in areas with limestone-based soils. The remedy is to apply Sulphur or gypsum, which slowly acidifies the soil.
⚠️ Critical Warning: Whether you are adding lime or sulphur, do it gradually. The recommendation on the soil test is usually the total amount needed over a season. Do not apply it all in one go, or you risk a massive pH swing that will burn the grass roots and send the soil into shock. Split the application over several weeks and water it in well.
Smart Fertilising and Watering Strategy
A soil test often reveals specific challenges. It might show that your sandy soil struggles to hold water, requiring frequent, light liquid feeds. Or it might indicate a precise deficiency that needs a targeted dose of a specific nutrient.
The challenge, however, is execution. How do you apply liquid fertiliser evenly across a large lawn? Uneven application is the primary cause of the "patchy" results that frustrate so many homeowners—green stripes where the fertiliser concentrated, and yellow patches where it missed.
This is where having the right tools transforms your ability to act on the soil report's data. The Aiper IrriSense is a 4-in-1 Smart Irrigation System that integrates a controller, sprinkler, and—crucially—a fertiliser sprayer into a single unit. This allows you to execute your soil report's plan with professional-grade precision. By adding the recommended liquid fertiliser or soil amendment to the tank, you can deliver the exact nutrients your soil needs, exactly where they are needed.
The system's EvenRain™ technology is particularly critical at this stage. It ensures that the water and dissolved nutrients are distributed with exceptional uniformity across the entire watering zone. This eliminates the "green ring" effect—where the outer edges of a sprinkler's reach get overwatered and over-fertilised while the centre remains dry—which is essential when you are spending money to correct specific soil imbalances. Furthermore, with intelligent weather scheduling that can save up to 40% on water usage, the IrriSense 2 ensures you aren't washing those expensive, carefully applied nutrients away through over-irrigation. Following a comprehensive seasonal lawn maintenance plan becomes far easier when you have a smart system that handles the precise application for you.
Conclusion
Soil testing removes the guesswork from lawn care, transforming it from a hopeful hobby into a precise science. By learning how to read a soil test, you stop wasting money on unnecessary fertilisers and start targeting the exact deficiencies holding your lawn back. More importantly, you protect the broader Australian environment from the pollution caused by nutrient runoff.
So, book a test, read your report using this guide, and use smart tools to apply the exact treatments your soil is asking for. Your lawn—and the local creek—will thank you.
FAQs About How to Read a Soil Test
How often should I test my soil in Australia?
A: For an established lawn, testing every 1-3 years is sufficient to track changes. The best times to test are in early Spring (September-October) or early Autumn (March-April), when the soil is not too wet, too dry, or frozen, and the grass is actively growing.
Can I use a DIY kit instead of a professional lab test?
A: DIY kits are fine for getting a rough idea of soil pH, and they can be useful for quick checks between professional tests. However, for accurate, actionable data on specific nutrient deficiencies (N-P-K and trace elements) and metrics like CEC and Organic Matter, a professional laboratory test is essential.
How much does a soil test cost in Australia?
A: Prices vary depending on the lab and the comprehensiveness of the test. A standard professional analysis for a home lawn typically ranges from $50 to $150 AUD. Given the cost of wasted fertilisers and a damaged lawn, it is one of the most cost-effective investments you can make.