Why New Seeds Fail in Australia & How to Store Seed Safely
The secret to a thriving Aussie garden is proper preservation; keep your seeds bone dry in airtight containers and stash them in a cool, dark place to protect them from extreme heat and humidity.

You prep the soil, plant your favourite varieties from the local nursery, and give them a good watering. Then, you wait. But instead of green shoots, you get absolutely nothing. Just bare dirt and wasted money.
The culprit usually isn't bad soil or underwatering. It’s what happened before planting. Figuring out exactly how to store seed correctly is the real secret to a thriving, cost-effective garden.
Seeds are living embryos, which makes them highly vulnerable. In a country famous for extreme heat and sticky coastal humidity, these tiny powerhouses face a brutal uphill battle.
Let's break down exactly why your seeds are failing in Aussie conditions. We'll also walk through practical, step-by-step preservation tips to secure your next harvest.
The Hidden Killers: Why Your New Seeds Are Failing
Before we dive into solutions, it’s crucial to understand the enemies lurking in your own home. It’s easy to blame the seed company, but often, the death of a seed happens long after you’ve brought it home. In the Australian climate, three primary factors act as silent assassins: heat, moisture, and light.
Heat
Think about where you might have left your seed packets. Is it in a tin shed that turns into an oven on a 40-degree day? On a shelf above the fridge, which radiates heat? Or perhaps in the glovebox of the car for a "handy" trip to the community garden? Summer temperatures exceeding 30°C can literally cook the plant embryo inside the seed. High temperatures accelerate the seed's metabolic rate, causing it to burn through its finite energy stores much too quickly. Once those reserves are gone, the seed is dead, unable to power the initial growth spurt required for germination.
Moisture & Humidity
Australia’s humidity, particularly in coastal regions from Brisbane to Sydney and up to Darwin, is a major threat. Seeds are hygroscopic, meaning they actively absorb moisture from the air. When exposed to high humidity, they begin to "respire" and can either wake up prematurely, only to die from lack of sustenance, or fall victim to mould and fungal attacks. Once a seed's internal moisture content rises, its lifespan doesn't just reduce slightly it plummets exponentially.
Light Fluctuations
While seeds germinate in response to light, stored seeds need complete darkness. UV light from the sun is a high-energy force that degrades the cellular structure of the seed coat and the genetic material inside. Constant light exposure will slowly but surely destroy the seed's viability, even if temperatures are cool.
Step-by-Step: The Best Methods on How to Store Seed
Now that you know the killers, here is the definitive guide to protecting your seeds. Mastering these steps ensures that when you are ready to plant, your seeds are ready to grow.
Step 1: Make Them Bone Dry
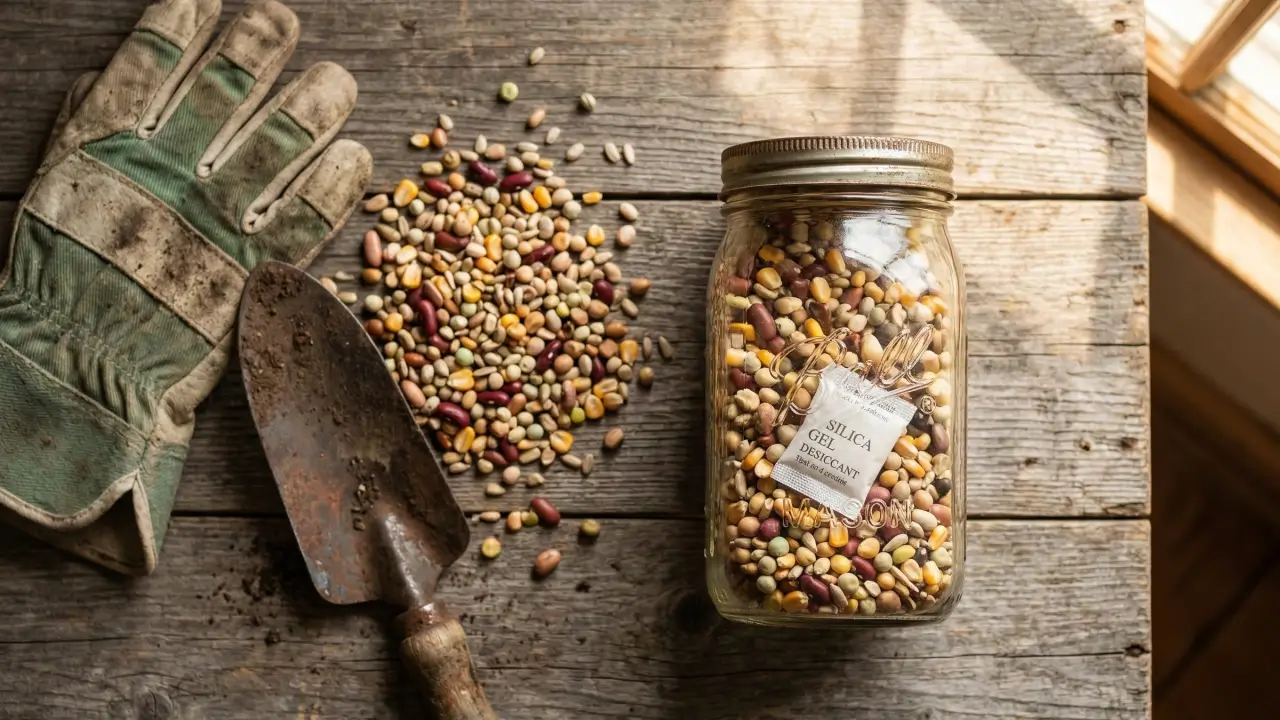
The single most important factor in seed longevity is moisture content. Before you seal your seeds away, you must ensure the storage environment is arid. A great trick used by professional growers is to include desiccants. You can buy silica gel beads or, even better, an environmentally friendly clay-based desiccant like Esorb. Simply place your seed packets (or loose seeds in a paper coin envelope) inside a container with one of these packets for 24-48 hours before long-term storage. This pre-treatment removes residual moisture that could otherwise activate the seed.
Step 2: Choose the Right Containers
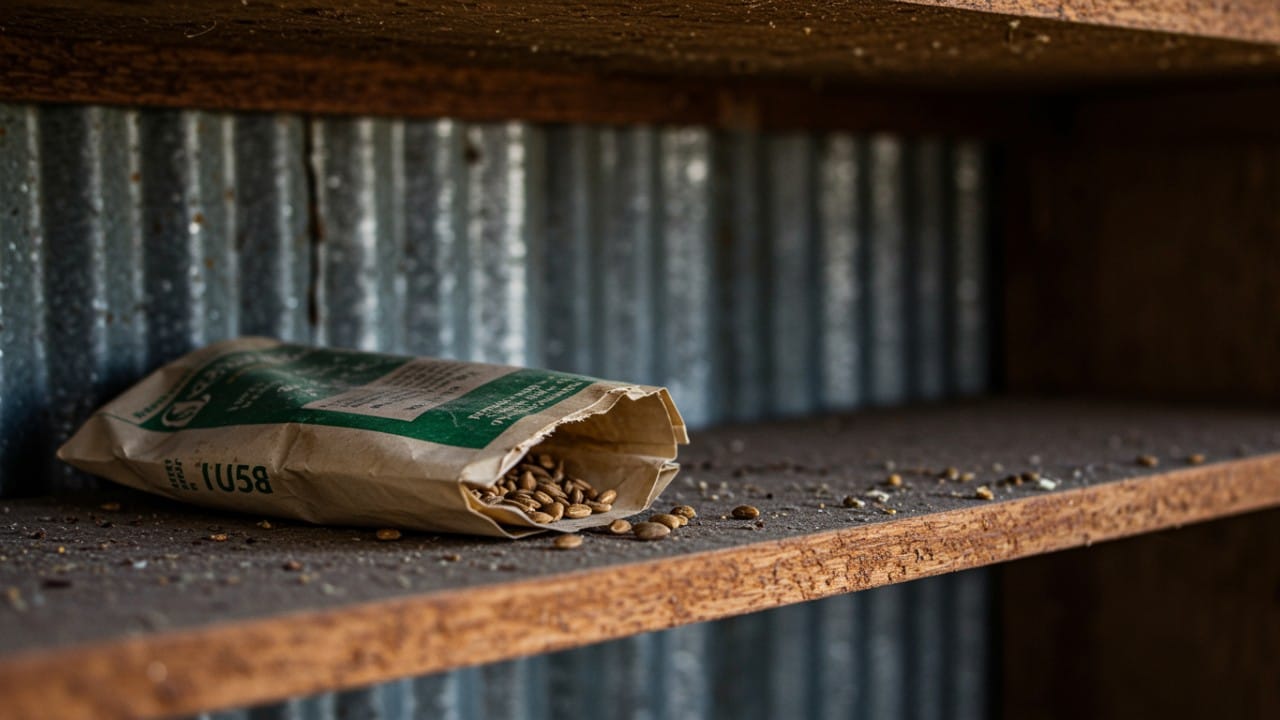
Your choice of container can make or break your seed storage efforts. In a humid climate, paper envelopes are a death sentence they act like sponges, wicking moisture directly into the seeds.
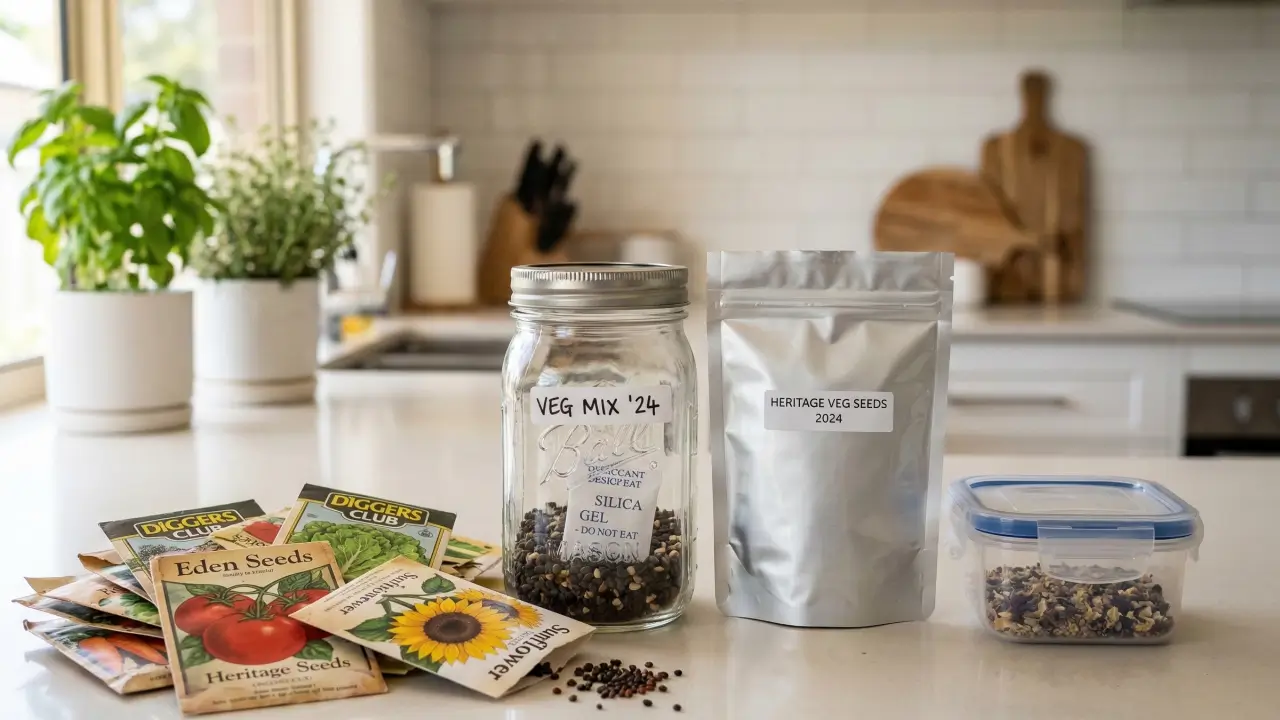
Recommended: Airtight is the only way to go. Glass mason jars with tight-sealing lids are excellent because they are non-porous and you can see the contents. Mylar bags (foil-lined plastic bags) are another top-tier choice as they are impervious to light, moisture, and oxygen. High-quality plastic containers with rubber gaskets (like Sistema or Lock&Lock) also work well.
What to Avoid: Never rely solely on the original paper packet if you live in Queensland or coastal NSW. Also, avoid thin, flimsy plastic bags that aren't designed for airtight storage. Metal containers can sometimes be problematic if they don't have a good seal, and condensation can form inside them with temperature swings.
While jars and silica work well for basic storage, the real challenge begins once those seeds hit the soil. Young seedlings require consistent, gentle moisture to survive the harsh Aussie sun. That's where the Aiper Irrisense 2 comes in. This smart irrigation system automates your watering schedule based on real-time weather data, ensuring your newly planted seeds get the exact amount of water they need to sprout successfully without you lifting a finger.
Step 3: Finding the Sweet Spot
The golden rule of seed storage is "Cool, Dark, and Dry." But what does that look like in an Australian home?
- The Fridge:For most gardeners, the fridge is the holy grail of seed storage. It provides a consistently cool temperature (around 4°C) and is dark. It is ideal for long-term storage (1-5+ years). However, you must ensure your container is 100% airtight. The humidity inside a fridge is high, and if moisture gets into your jar, it will ruin your seeds instantly.
- The Cupboard:A dark cupboard in an air-conditioned home is perfectly fine for short-to-medium term storage (6-12 months). The key is to choose a cupboard on an internal wall. Avoid cupboards on external walls that get hot in the afternoon sun, and definitely avoid the laundry or bathroom where humidity fluctuates.
Seed Viability Cheat Sheet
It’s important to have realistic expectations. Even with perfect seed storage, not all seeds are created equal. Some are naturally short-lived, while others are botanical time capsules. Here is a handy cheat sheet for common Aussie garden staples.
| Vegetable/Plant Type | Average Shelf Life (Room Temp / Poor Storage) |
Optimal Storage Lifespan (When stored correctly) |
|---|---|---|
| Onions, Leeks, Parsnips | 6 months – 1 year | 1 – 2 years |
| Corn, Peas, Beans | 1 – 2 years | 3 – 4 years |
| Carrots, Lettuce, Chives | 1 – 2 years | 3 – 5 years |
| Capsicum, Chillies, Eggplant | 2 years | 3 – 5 years |
| Cabbage, Broccoli, Cauliflower | 3 years | 4 – 5 years |
| Tomatoes, Cucumbers, Melons | 3 – 4 years | 5 – 10 years |
| Beetroot, Swiss Chard | 3 – 4 years | 5 – 6 years |
Note: These are estimates. High oil content seeds (like onions) go rancid faster, while hardy seeds (like tomatoes) are built to last.
Pro Tips: Testing Your Stored Seeds Before Planting
Don't waste good potting mix on dead seeds. After storing them for months, do a quick viability check to ensure they'll actually sprout.
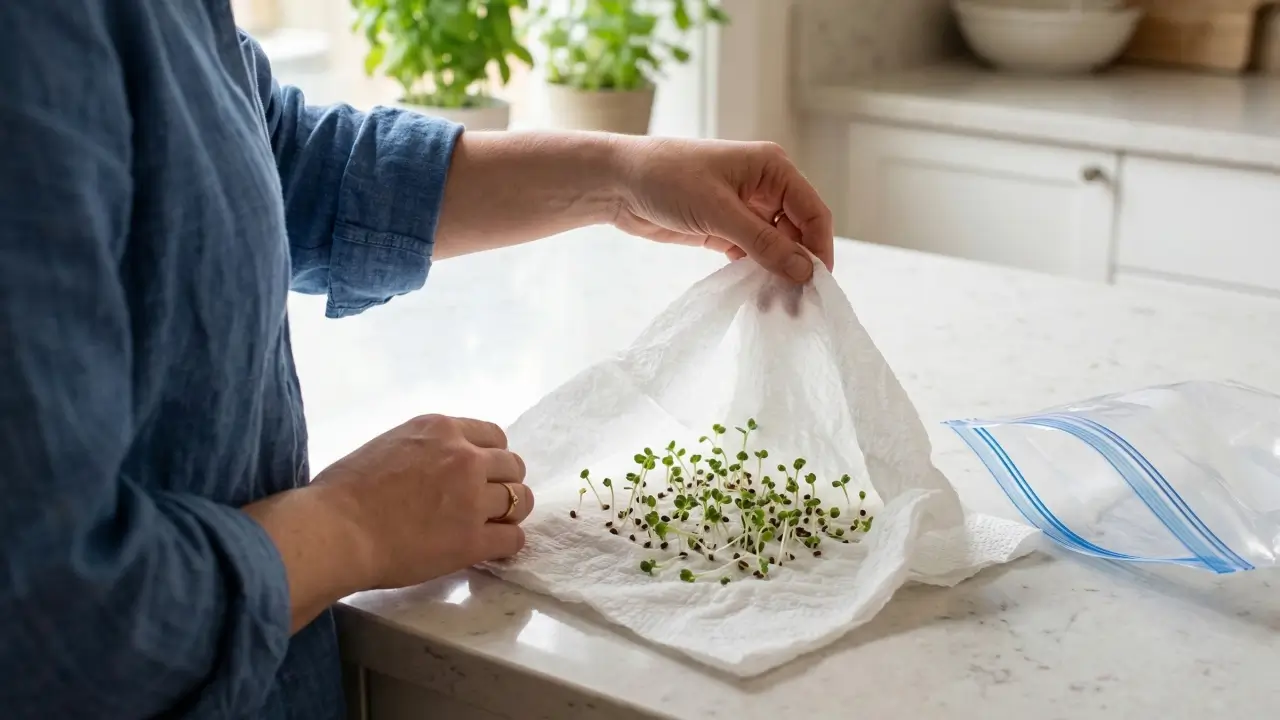
The Damp Paper Towel Test:
- Grab a sample: Take 10 seeds from your stash.
- Wrap them up: Pop them onto a damp (not dripping) paper towel. Fold it over and slide it into a sealed ziplock bag.
- Keep them warm: Put the bag somewhere cosy. The top of the fridge works brilliantly. Leave them alone for about 3 to 10 days.
- Do the math: Check back later. If 7 out of 10 have sprouted, that’s a solid 70% success rate. You are good to plant.
Low numbers? If only 2 or 3 sprouted, you’ll need to sow them much thicker—or just grab a fresh packet.
Conclusion: Secure Your Garden's Future Today
The secret to seed longevity isn't magic; it's simply controlling temperature and moisture. By treating your seeds with the same care you would a living plant, you can preserve seeds for years, saving money and preserving heirloom varieties. Don't wait until next spring to fix your habits. Go check your seed stash right now and move it out of the hot shed! By investing in a few glass jars and a cool spot in the fridge, you are investing in the future success of your garden. Happy planting!
Frequently Asked Questions (FAQ)
Q: Can I freeze my seeds for long-term storage?
Yes, you can, but it requires precision. Seeds must be bone dry before freezing; otherwise, the moisture inside them will freeze, expand, and rupture the cell walls, killing the embryo. If stored in an airtight, moisture-proof container, freezing can extend the life of many seeds for decades, mimicking the conditions of a professional seed bank.
Q: How long do seed packets last once opened?
In humid Aussie conditions, an open packet left in a shed or kitchen might only last a few months before the seeds lose viability. However, if you reseal the packet in an airtight container or bag with a desiccant and store it in the fridge, it can last for years, just like an unopened packet.
Q: What is the cheapest way to store seeds?
The most budget-friendly method is to repurpose items you already have. Recycled, thoroughly washed glass jars (like old jam or pasta sauce jars) are perfect. Pair these with repurposed silica gel packets that you collect from shoe boxes, electronics packaging, or vitamins. This combination creates a low-cost, highly effective environment for saving your seeds for the next season.