How Do I Lower Phosphates in My Pool? A Step-by-Step Guide


You look at your pool and feel tired already. Water is not clear. Algae comes back even after chlorine. You clean today; tomorrow it looks bad again. Many pool owners face this and feel confused.
Most of the time, the problem is not that you are doing something wrong. The problem is phosphate in my pool.
Phosphates are not easy to see. But algae love them. When phosphate levels go high, algae grow fast. Chlorine cannot win this fight alone.
So if you keep asking yourself, "How do I lower phosphates in my pool?" This guide is for you. We will explain in simple words where phosphates come from, how to remove them, and how to stop them from coming back again and again.
What Causes High Phosphate Levels in Pools?
Phosphates come from normal life. You do not need to do anything “bad” for them to enter your pool.
Leaves fall in the water. Small bugs die inside. Grass, dust, and dirt blow in. After some time, all this breaks down and creates phosphorus. This is the biggest reason for high phosphate levels.
If you have plants or a lawn near the pool, fertilizer is another problem. When it rains or when kids splash water out, fertilizer can wash back in. Fertilizer contains a lot of phosphates.
People also add phosphates without knowing. Sunscreen, body lotion, makeup, sweat, and hair products all leave small amounts behind. One swim is nothing, but many swims add up.
Even your tap water can be the source. Some city water already has phosphates in it. Every time you top up the pool, you may add more.
How Do I Lower Phosphates in My Pool: The Action Plan
Removing phosphates is not a fast job. You cannot just pour one bottle and finish. Many people fail because they skip steps. Cleaning and balance come first. Always.
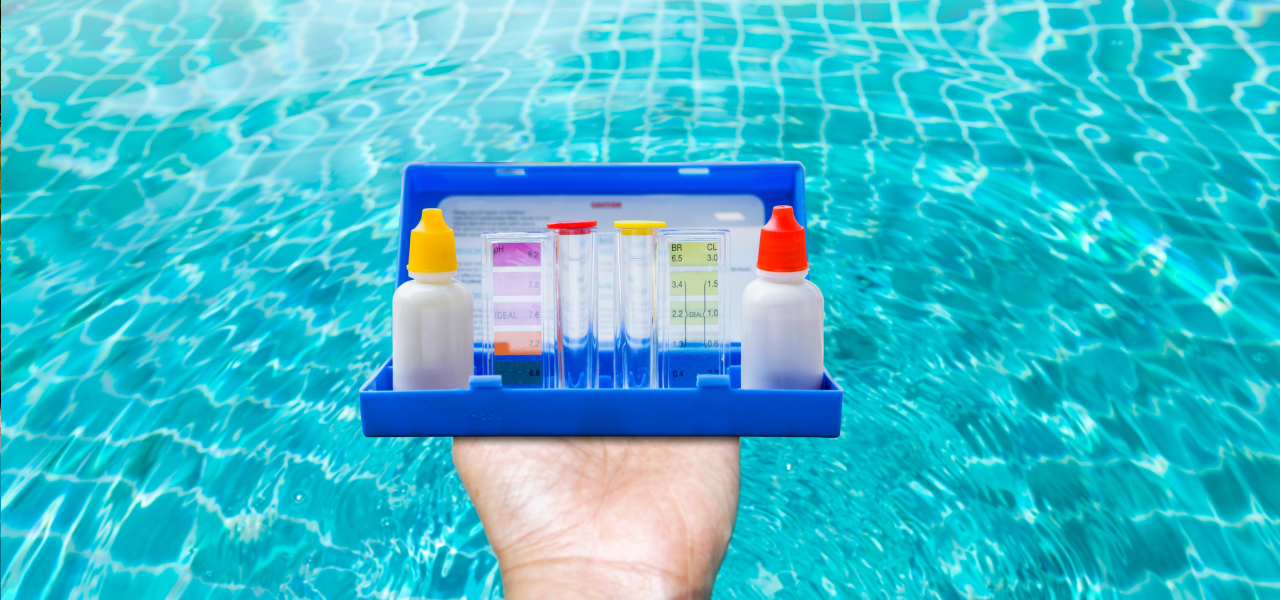
Step 1: Test Your Water
Do not treat before testing. This is very important.
Phosphates are measured in ppb. Pools usually stay okay under 300 ppb. When levels go above 1,000 ppb, algae becomes very hard to control.
Also check pH. This part is often ignored. According to APVMA (Australian Pesticides and Veterinary Medicines Authority) guidelines for efficacy testing, chemicals work best when pH stays around 7.2 to 7.3. If the pH is not right, the phosphate remover may not work well at all.
Some pool owners only test once a week and guess the rest of the time. This is risky. Tools like Aiper HydroComm Pro help because they show water balance all the time. When water is stable, treatment works better and faster.
Step 2: Clean the Filter & Remove Debris
Adding chemicals to a dirty pool is wasting money.
Leaves, bugs, and dirt are the reason phosphates exist in the first place. If they stay in the pool, new phosphates will keep forming.
Empty skimmer baskets. Clean the filter. Brush the walls and steps. Do not skip the floor.
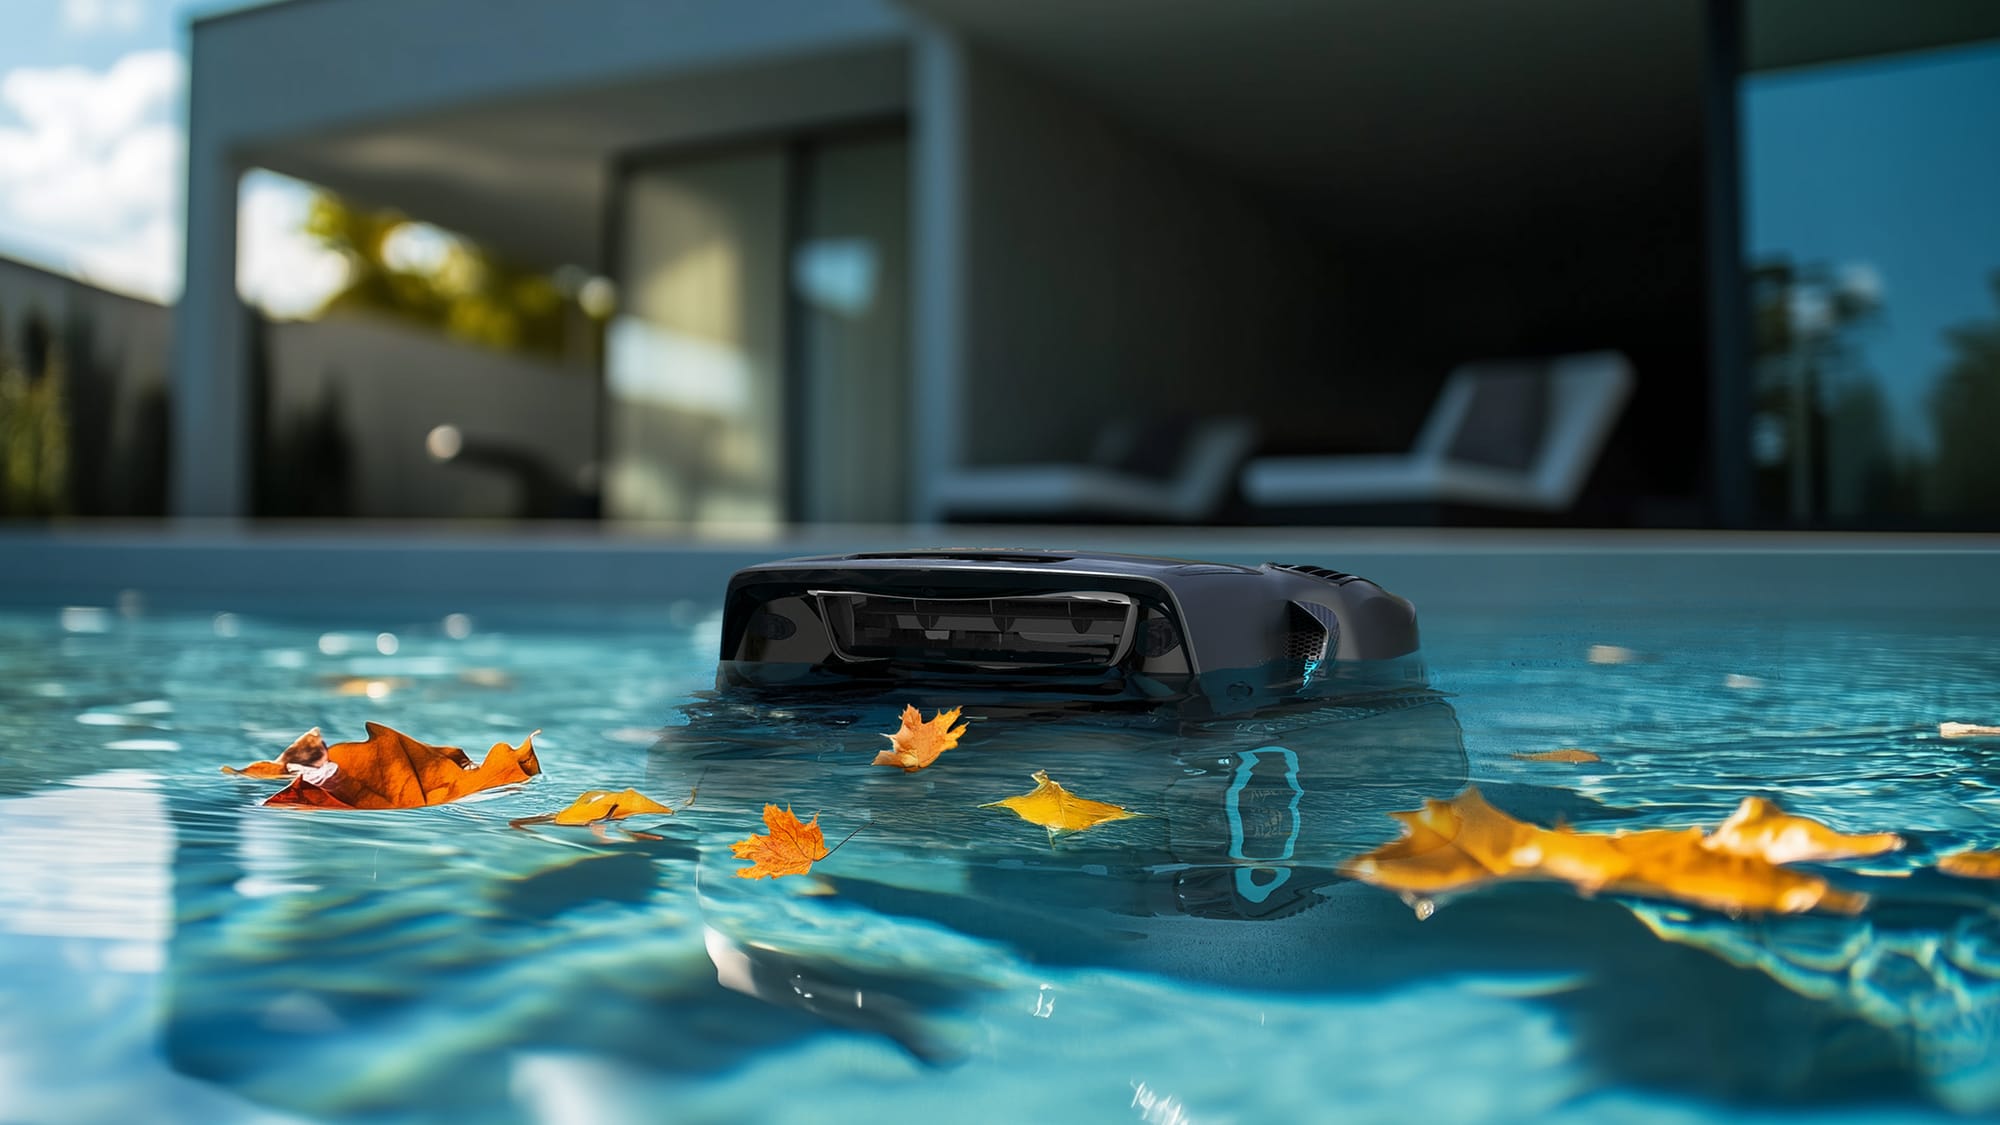
This step is tiring for many people. That is why robotic cleaners help. The Aiper Scuba X1 Pro Max goes on walls and floor and removes the organic debris that later turns into phosphates. Think of this step as preparation, not cleaning only.
Step 3: Add Phosphate Remover
Now your pool is ready.
Read the label carefully. Pool size matters. Phosphate level matters. Adding more does not mean a better result.
Pour the product slowly as directed. Keep the pump running. Then wait. Do not rush.
After some hours, water may look cloudy or milky. Many people panic here. This is normal. It means phosphates are bonding and falling out of the water.
Step 4: Run the Filter & Final Vacuum
Once particles settle, they must be removed.
If they stay on the floor, they can break down again. This brings the problem back.
Let the filter run. Then vacuum slowly. A robotic cleaner like Scuba X1 Pro Max is useful again here because it removes fine particles without clogging the main filter too fast.
After this, the water usually looks clear again.
Common Mistakes When You Lower Phosphates in a Pool
- Do not overdose. Too much remover can leave white marks or stress the filter.
- Do not treat when algae are alive. Kill algae first. Phosphate remover does not kill algae. It only removes food.
- Wear gloves when handling chemicals. Safety always matters, even for simple pool products.
Pool care works best when you go slow and steady. Small steps done often help more than big fixes done once. When you clean a little every week, the water stays happy. This makes swimming more fun and saves time later.
Prevention vs. Cure: Maintaining Low Levels of Phosphorus
Lowering phosphates once is not the end.
Regular cleaning stops debris from breaking down. This keeps low levels of phosphorus in the pool. When debris is removed early, phosphates do not get a chance to form.
Robotic cleaners help a lot here. They work even when you forget or feel lazy. Monitoring water balance also helps because stable water needs fewer chemicals.
This way, you treat less and enjoy more.
FAQs About Pool Phosphates
Q1: What is a safe phosphate level for swimming?
Most pools are fine between 100 and 300 ppb.
Q2: Does magnesium lower phosphorus?
No. Magnesium feels nice for swimmers, but it does not lower phosphates.
Q3: Can I naturally lower phosphates?
You can prevent buildup by cleaning and skimming. But once levels are high, you need proper treatment.
Conclusion
Phosphates are not scary, but ignoring them causes endless algae problems. Once you understand how to lower phosphates in pool water, everything feels easier.
Clean first. Balance the water. Remove phosphates slowly. Then maintain.
Using tools like Aiper HydroComm Pro and Scuba X1 Pro Max helps keep the pool clear without stress. A clean pool is not about more chemicals. It is about better habits.