What is a Spider Gasket? The Hidden Leaker in Your Pool

If your pool water level is dropping faster than usual or your water bill has increased unexpectedly, the cause may be a faulty spider gasket—a small, spoked rubber seal inside your multiport valve.
In Australia, where water conservation is critical, a leaking pool valve is more than just a nuisance—it is a costly waste. In this guide, we will explain what a spider gasket is, how it functions as the "traffic controller" of your pool's flow, and provide a simple DIY guide to replacing it on common multiport valves found in Aussie backyards.
What is the Spider Gasket: Your Pool’s Traffic Controller
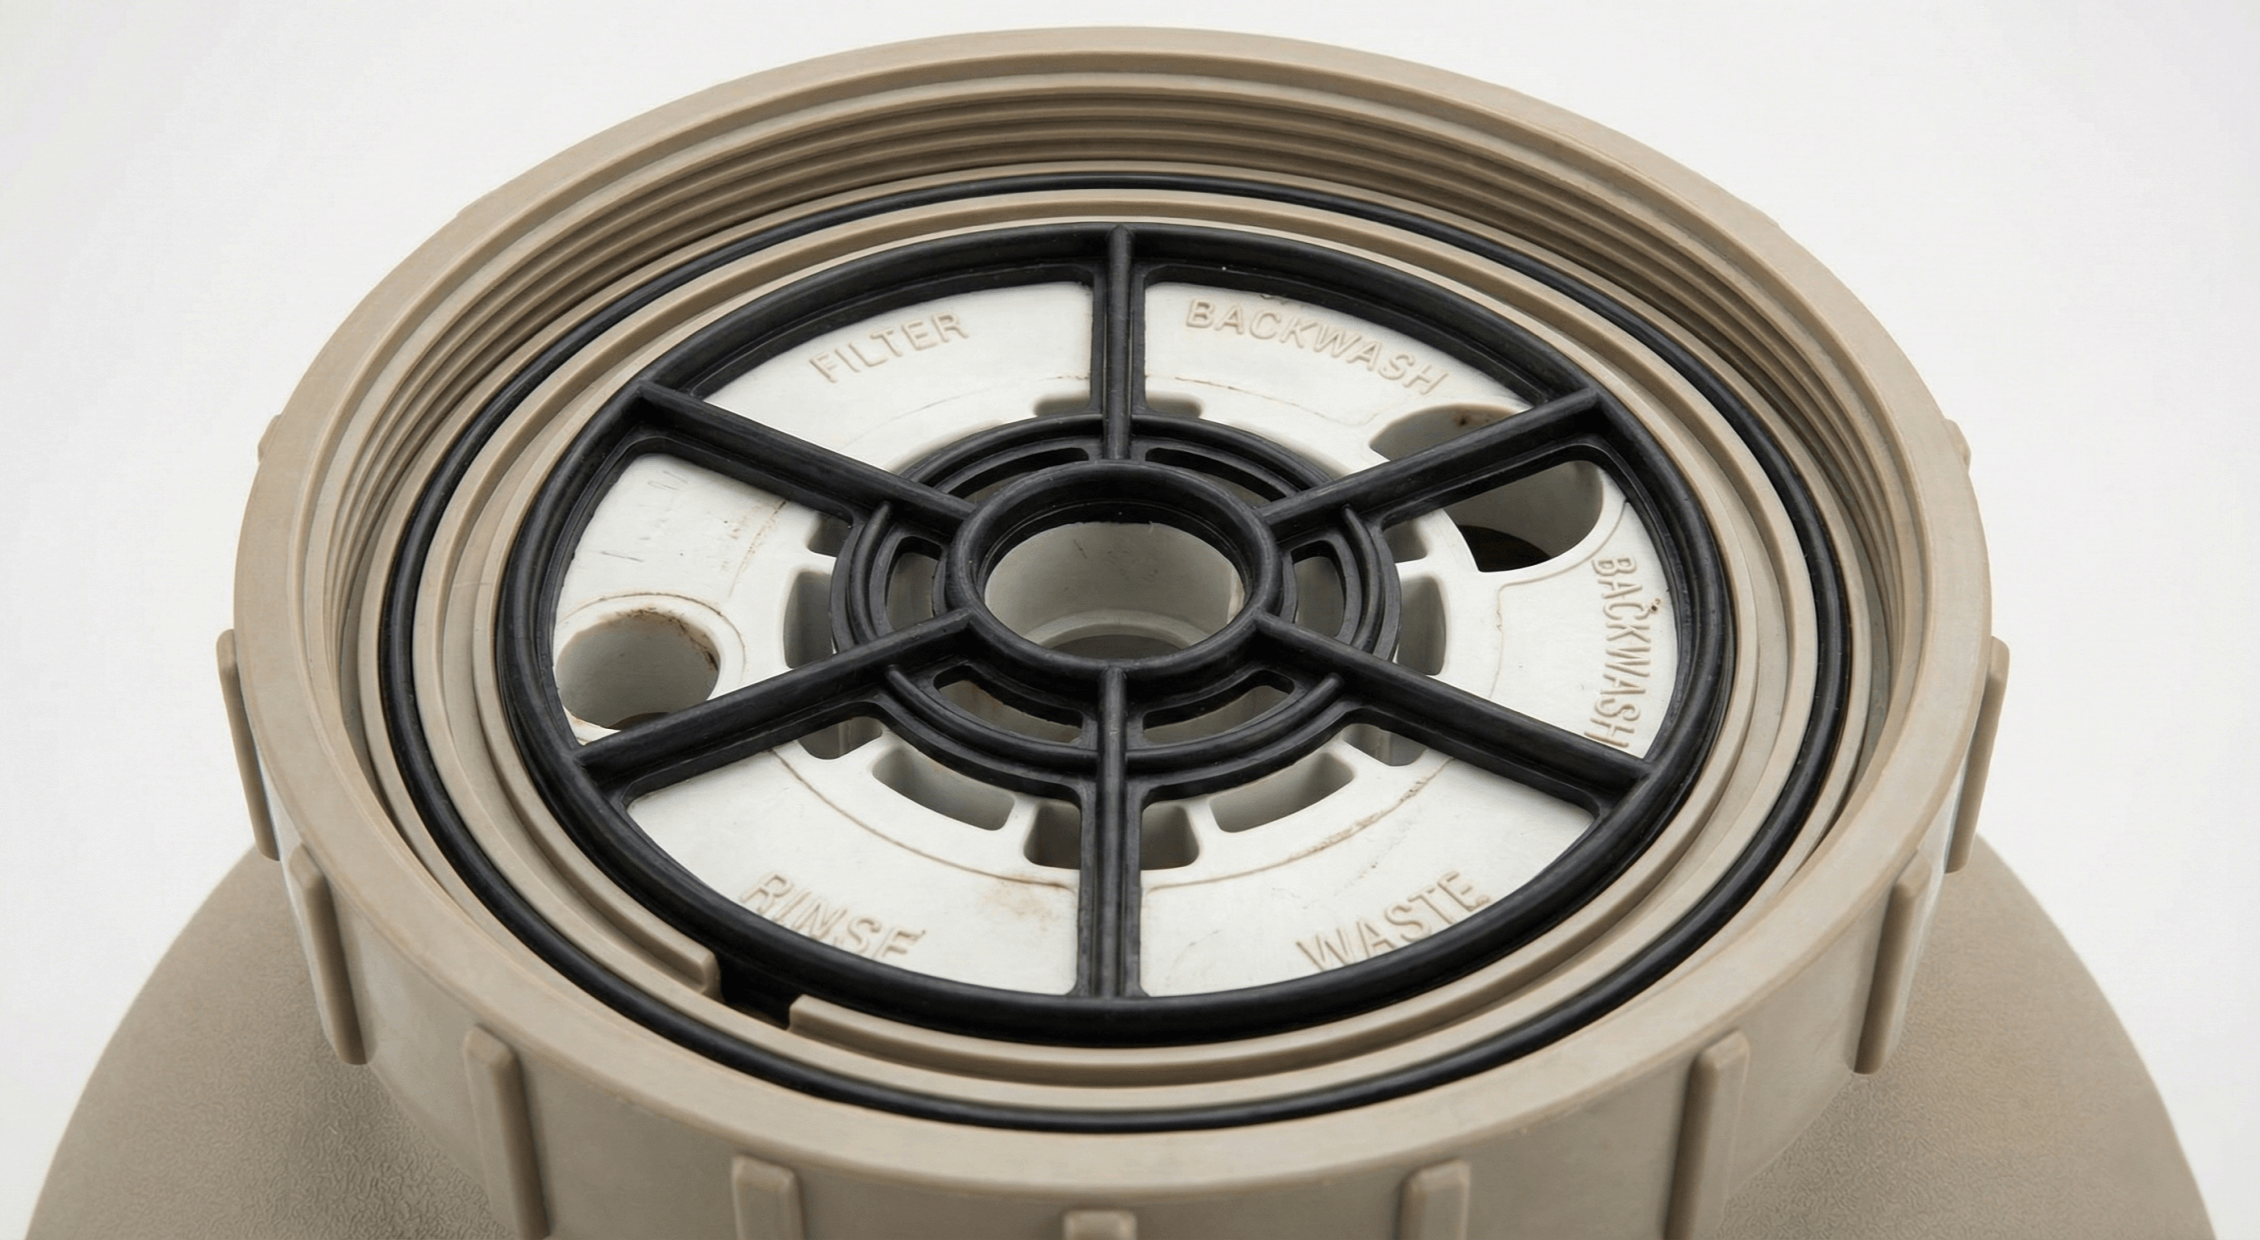
A spider gasket (also called a diverter gasket) is a flat, moulded rubber seal that sits inside your sand filter’s multiport valve. It is located directly under the handle assembly (the "key" or diverter) and acts as a seal between the moving parts and the valve body.
Think of the spider gasket as a "guardrail" on a roundabout. Its job is to direct water into the correct lane. When you turn the handle to 'Filter', the gasket seals off the 'Backwash' and 'Waste' ports, ensuring water only flows back to your pool.
These gaskets are typically made from durable EPDM rubber to withstand harsh pool chemicals and the Australian climate. However, over time, they can wear out, crack, or become unseated, leading to water loss.
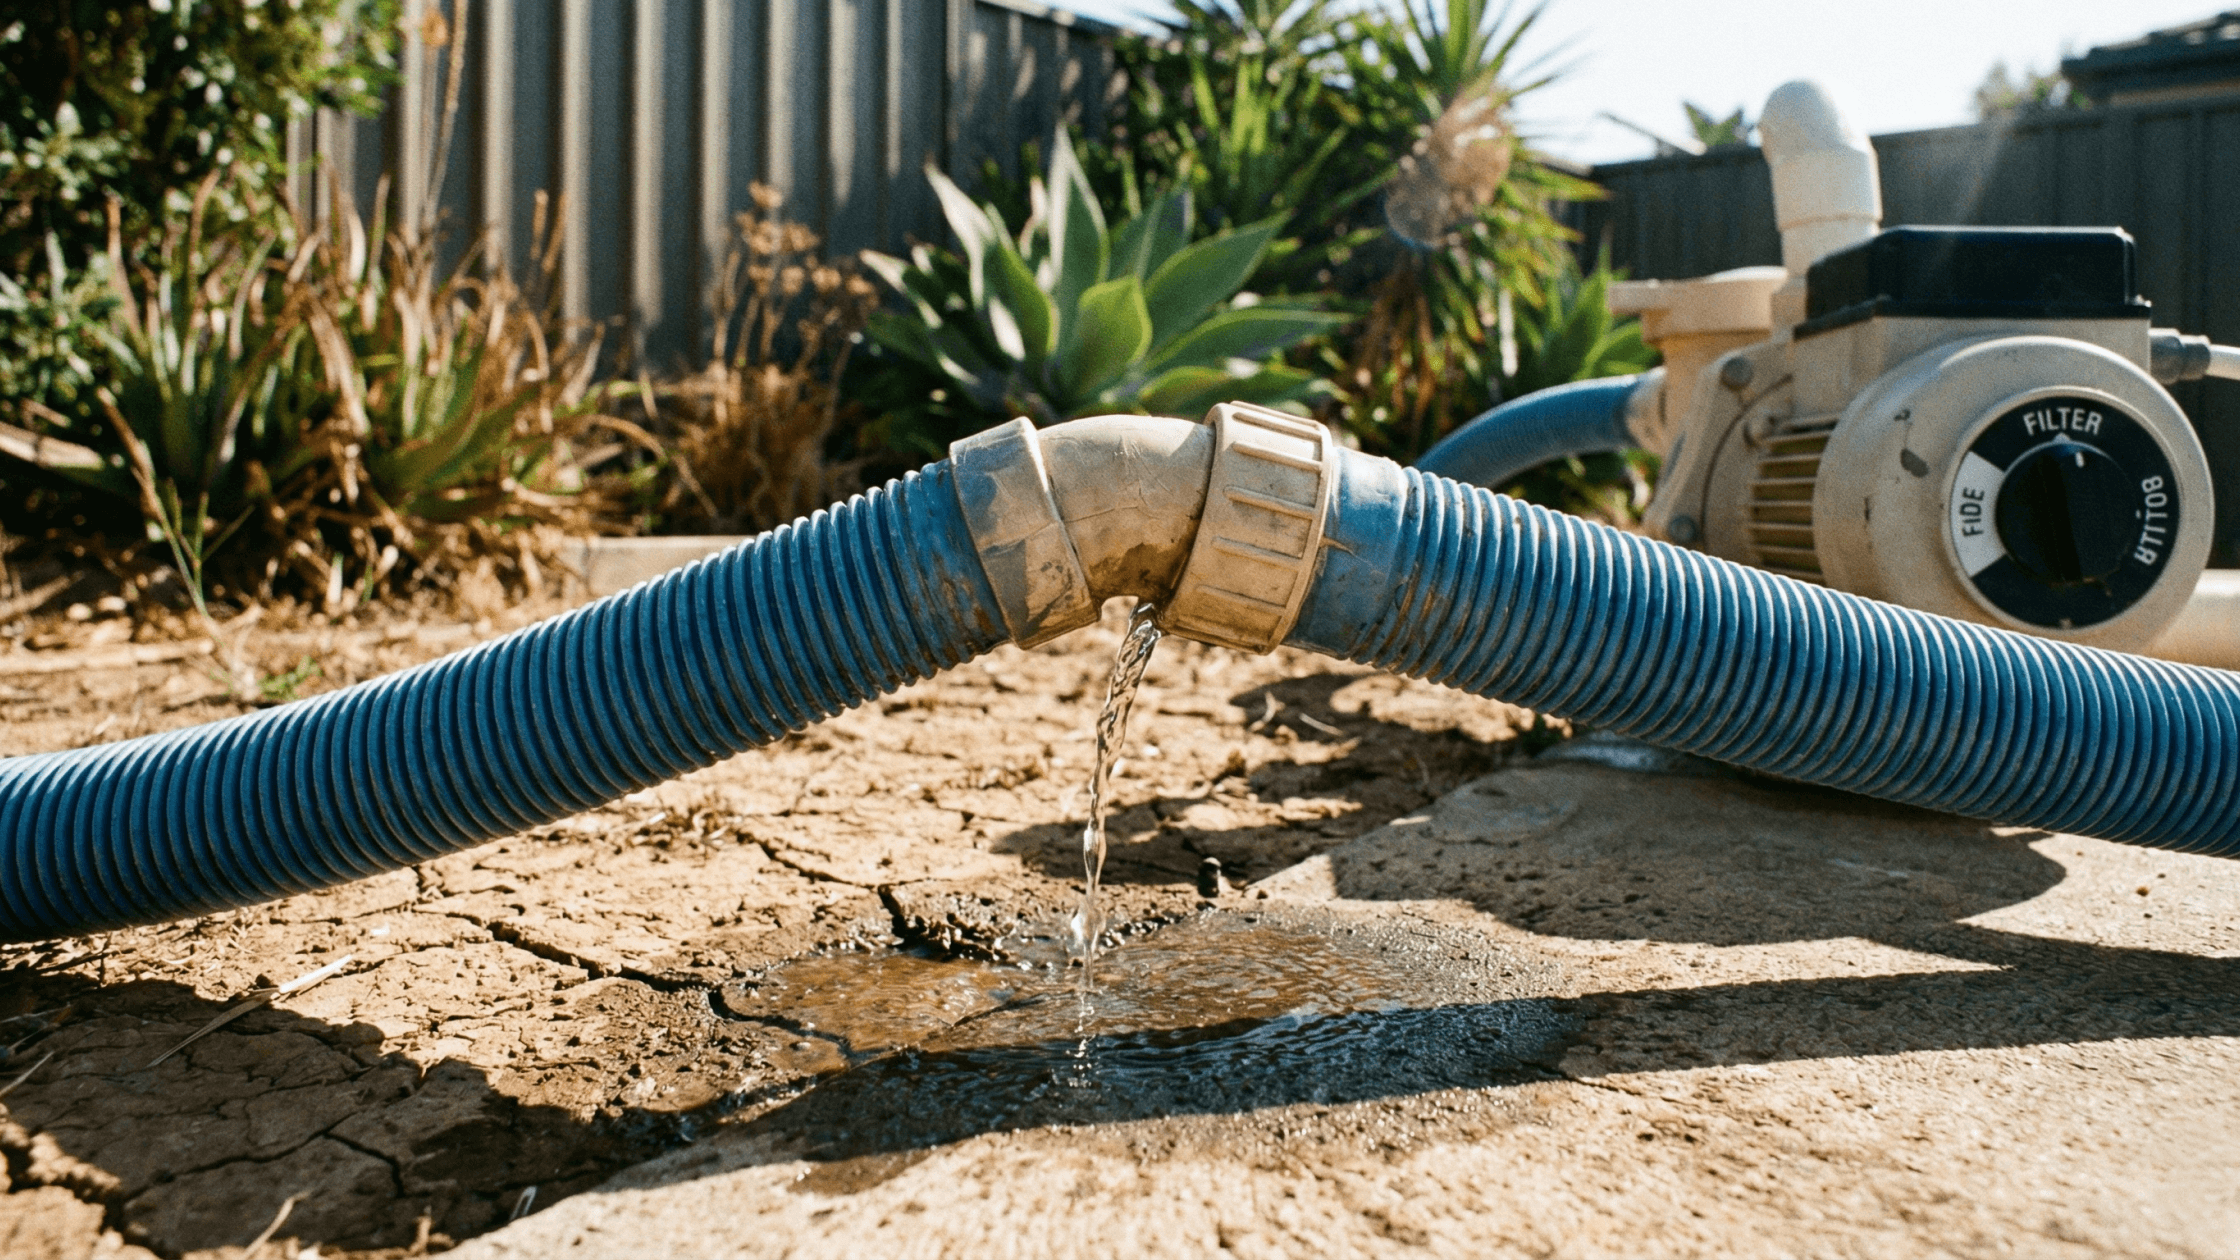
Why Is Water Leaking Out of My Waste Line? (Signs of Failure)
If the "guardrail" fails, water escapes into lanes where it shouldn't be. The most common symptom of a failed spider gasket is water trickling out of the backwash (waste) line while the filter is running.
Common Signs of Failure
- Constant Dripping: Water flows out of the waste port even when the valve is set to 'Filter'.
- Cloudy Water: Dirt bypasses the filter because the seal between the 'Filter' and 'Return' ports is broken.
- Loose Handle: The handle feels incredibly loose, or conversely, you have to press down hard to stop a leak.
Pro Tip from SPASA: Chemical imbalance is a major cause of gasket failure. According to the Swimming Pool & Spa Association of Australia (SPASA), keeping your Total Alkalinity between 90–110 ppm and pH between 7.4–7.6 is vital. Low pH (acidic water) can cause rubber gaskets to swell or deteriorate prematurely.
Is it a leak or evaporation?
Before tearing apart your valve, confirm you actually have a leak. Water Corporation suggests performing a simple check: if your water usage spikes or the meter moves when no taps are on, you have a leak.
For pools, use the "Bucket Test":
- Fill a bucket with pool water.
- Place it on a pool step so the water level inside matches the pool level outside.
- Mark the levels on the bucket.
- Check after 24 hours. If the pool level drops faster than the bucket level, you likely have a leak.

Step-by-Step Guide: How to Replace a Spider Gasket
Replacing a spider gasket is a straightforward DIY job that can save you a call-out fee.
Step 1. Depressurise the System
Turn off your pool pump. Press the valve handle down to release any vacuum pressure. If possible, set the handle to 'Winter' (or halfway between settings) to lift the diverter off the gasket.
Step 2. Open the Valve
Remove the screws or the clamp ring holding the lid (top assembly) to the valve body. Lift the handle assembly straight up. You will see the spider gasket sitting in the grooves of the body or on the underside of the diverter.
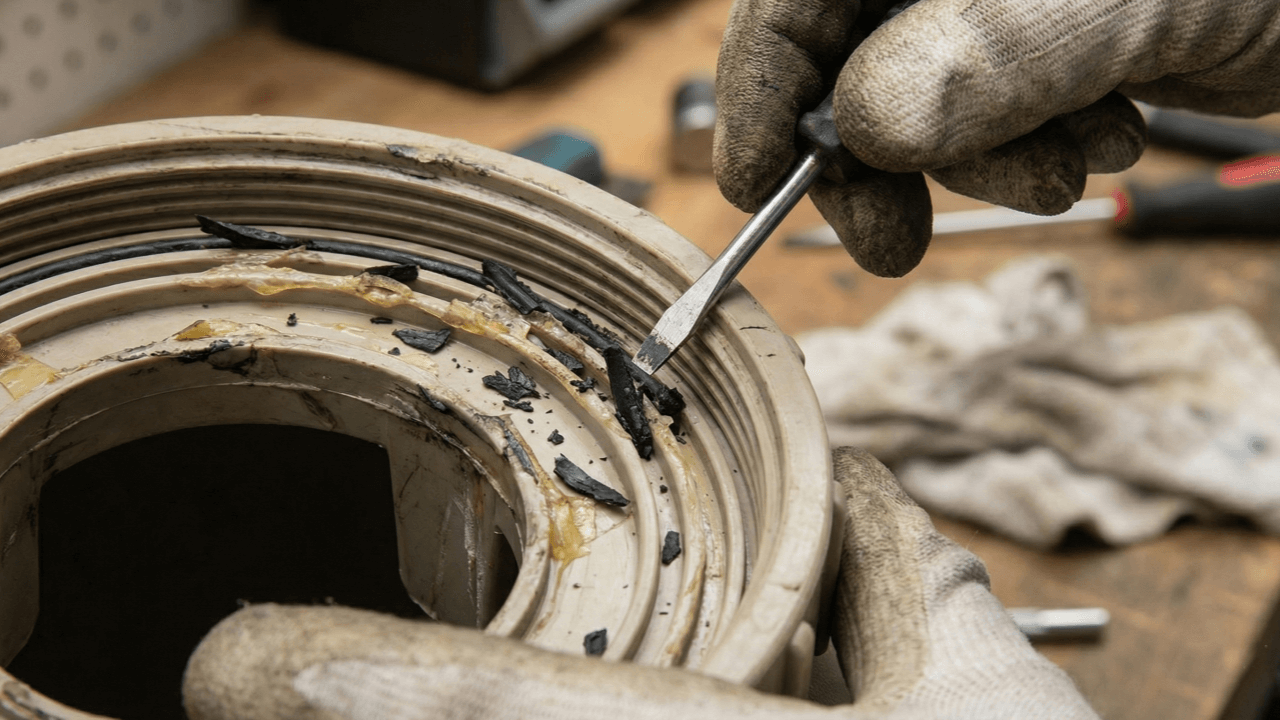
Step 3. Remove and Clean
- Remove: If the old gasket is glued, carefully scrape it out using a small screwdriver. Do not scratch the plastic channels.
- Clean: Wipe the groove clean to remove old glue and debris.
- Warning: Do not use full-strength acetone as it can damage the ABS plastic body. Use a mild solvent or simply dry it thoroughly with a rag.
Step 4. Install the New Gasket
- Glue-in Type (Common in older valves): Apply a thin bead of suitable silicone sealant to the bottom of the groove. Press the new gasket in, ensuring the rounded side faces up.
- Floating Type: Some modern valves use a "floating" gasket that sits on the diverter. Ensure it is seated correctly before reassembling.
Step 5. Reassemble
Lubricate the O-ring on the lid with silicone grease (not Vaseline, which can damage rubber). Realign the lid tabs and tighten the screws in a star pattern to ensure even pressure.
Buying Guide: How to Find the Right Spider Gasket
In Australia, spider gaskets are not "one size fits all". Since manufacturers use different moulds, you must identify your specific valve requirements. Do not guess—measure!

Key Factors to Check:
- Valve Port Size (Metric):
- 40mm Valves: The most common size for residential pools.
- 50mm Valves: Used for larger pools requiring higher flow rates.
- Note: Even if your pipes are imperial (1.5" or 2"), the gasket is usually sold by the metric valve size in Australia.
- Number of Spokes: Count the legs on your old gasket. Common configurations are 4 spokes or 5 spokes. Some larger valves may have 6 spokes.
- Outer Diameter (OD): Measure the total width of the gasket from tip to tip. A difference of even a few millimetres means it won't seal properly.
Tip: The model number is often stamped on the valve label or the plastic body itself. Take a photo of your old gasket and the valve label to your local pool shop to ensure a perfect match.
Conclusion
Don't let a $20 part ruin your water bill. If you see water leaking out of your waste line, check your spider gasket. By identifying the leak early and replacing the gasket with the correct size for your valve, you can stop the leak and ensure your Aiper robotic cleaner operates in a crystal-clear, well-maintained pool.
FAQ
Q: How long does a spider gasket last?
A: Typically 5 to 7 years. However, high chlorine levels or frequent handle turning while the pump is running can shorten its life.
Q: Do I need to glue the gasket in?
A: It depends on the valve design. Many older valves require a small amount of silicone sealant (glue) to hold the gasket in the groove. Newer models often seat into the diverter without glue. Always check your valve manual or inspect the old gasket—if it was hard to scrape out, it was likely glued.
Q: Can I just tighten the screws to stop the leak?
A: Sometimes, but be careful. Over-tightening can crack the valve body. If tightening doesn't stop the leak, the spider gasket is likely damaged and needs replacement.
References:
Swimming Pool & Spa Association of Australia (SPASA). (n.d.). Spa Pool Maintenance. Retrieved from https://www.spasa.com.au/pool-and-spa-owners/faqs-tips-and-tricks/spa-pool-maintenance
Water Corporation. (n.d.). How to Detect A Water Leak. Retrieved from https://www.watercorporation.com.au/help-and-advice/water-issues/leaks/detect-a-leak