How to Lower Phosphates in Your Pool: A Complete Guide to Clearer Water

It's one of the most frustrating feelings for a pool owner: you do everything right—balance the water, run the filter, add sanitizer—but you’re still fighting off stubborn algae and cloudy water. If this sounds familiar, you might be dealing with a hidden culprit: high phosphate levels.
Phosphates are essentially food for algae, and when their levels get too high, they can supercharge algae growth and make your chlorine work overtime. This guide will walk you through how to identify a phosphate problem, the exact steps to fix it, and how to keep your pool crystal clear for good.
Is Your Pool Suffering from High Phosphates?
Before you can solve the problem, you need to know if you have one. High phosphates can be sneaky, but they leave behind a few tell-tale signs.
Signs of a Phosphate Problem
Keep an eye out for these common symptoms in your pool:
- Persistent algae blooms, especially tough varieties like black algae, that return quickly even after shocking the pool.
- High, consistent chlorine demand. You find yourself adding more and more chlorine just to maintain a normal reading.
- Cloudy, hazy, or dull water that just won't clear up, no matter how much you filter it.
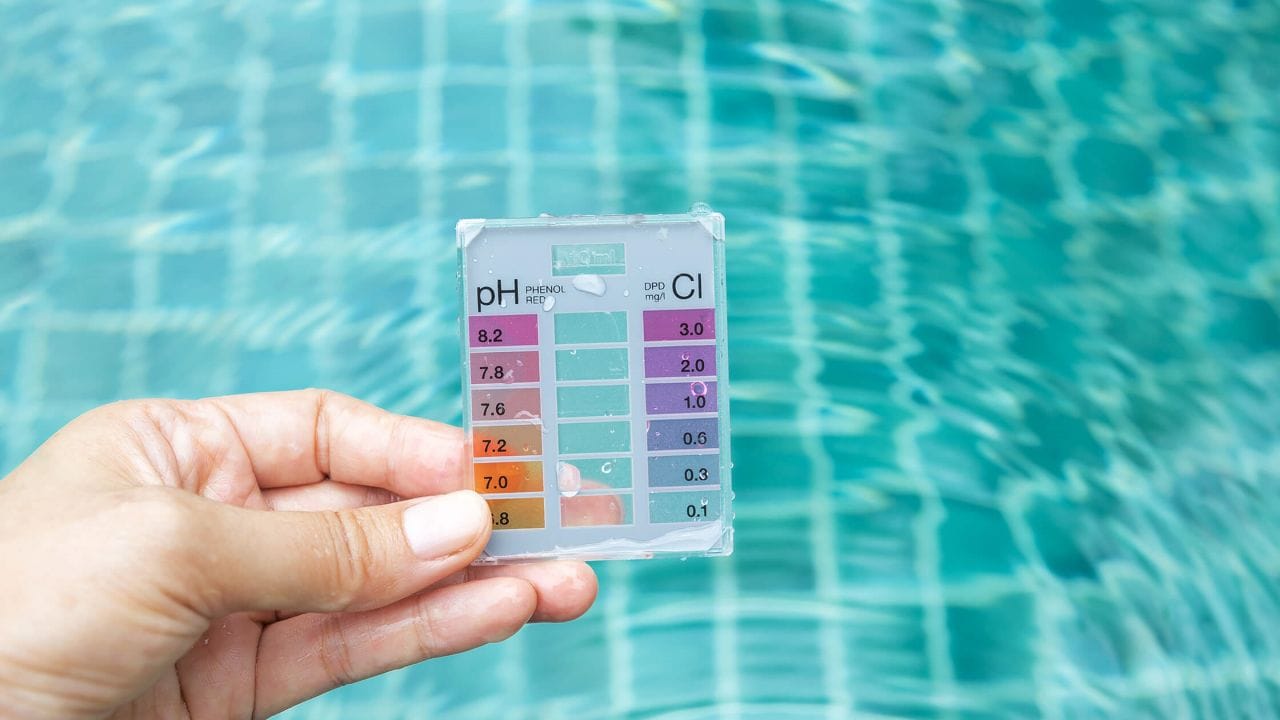
How to Test Your Pool's Phosphate Levels
The only way to know for sure is to test. You can purchase a phosphate test kit (either strips or a liquid reagent kit) from a local pool store or online. For the most accurate reading, you can also take a water sample to a professional pool supply store as part of your regular process to test your pool water.
So, what's a "high" number? There's some disagreement, but here’s a general guide:
- Ideal: Below 125 parts per billion (ppb).
- Problematic: Many experts suggest taking action when levels exceed 500 ppb, as this is when phosphates can significantly fuel algae growth.
Step-by-Step Guide to Lowering Phosphates in Your Pool
Lowering phosphates is a two-part process that requires the right mindset: Chemical Removal + Physical Removal. First, you add a specialized chemical to bind with the dissolved phosphates, turning them into microscopic solid particles. Then, you use your pool's filtration and cleaning systems to physically remove those particles from the water. Simply dumping in a remover without the second step won't solve the problem.
Step 1: Prepare Your Pool
Before you add any phosphate remover, set yourself up for success:
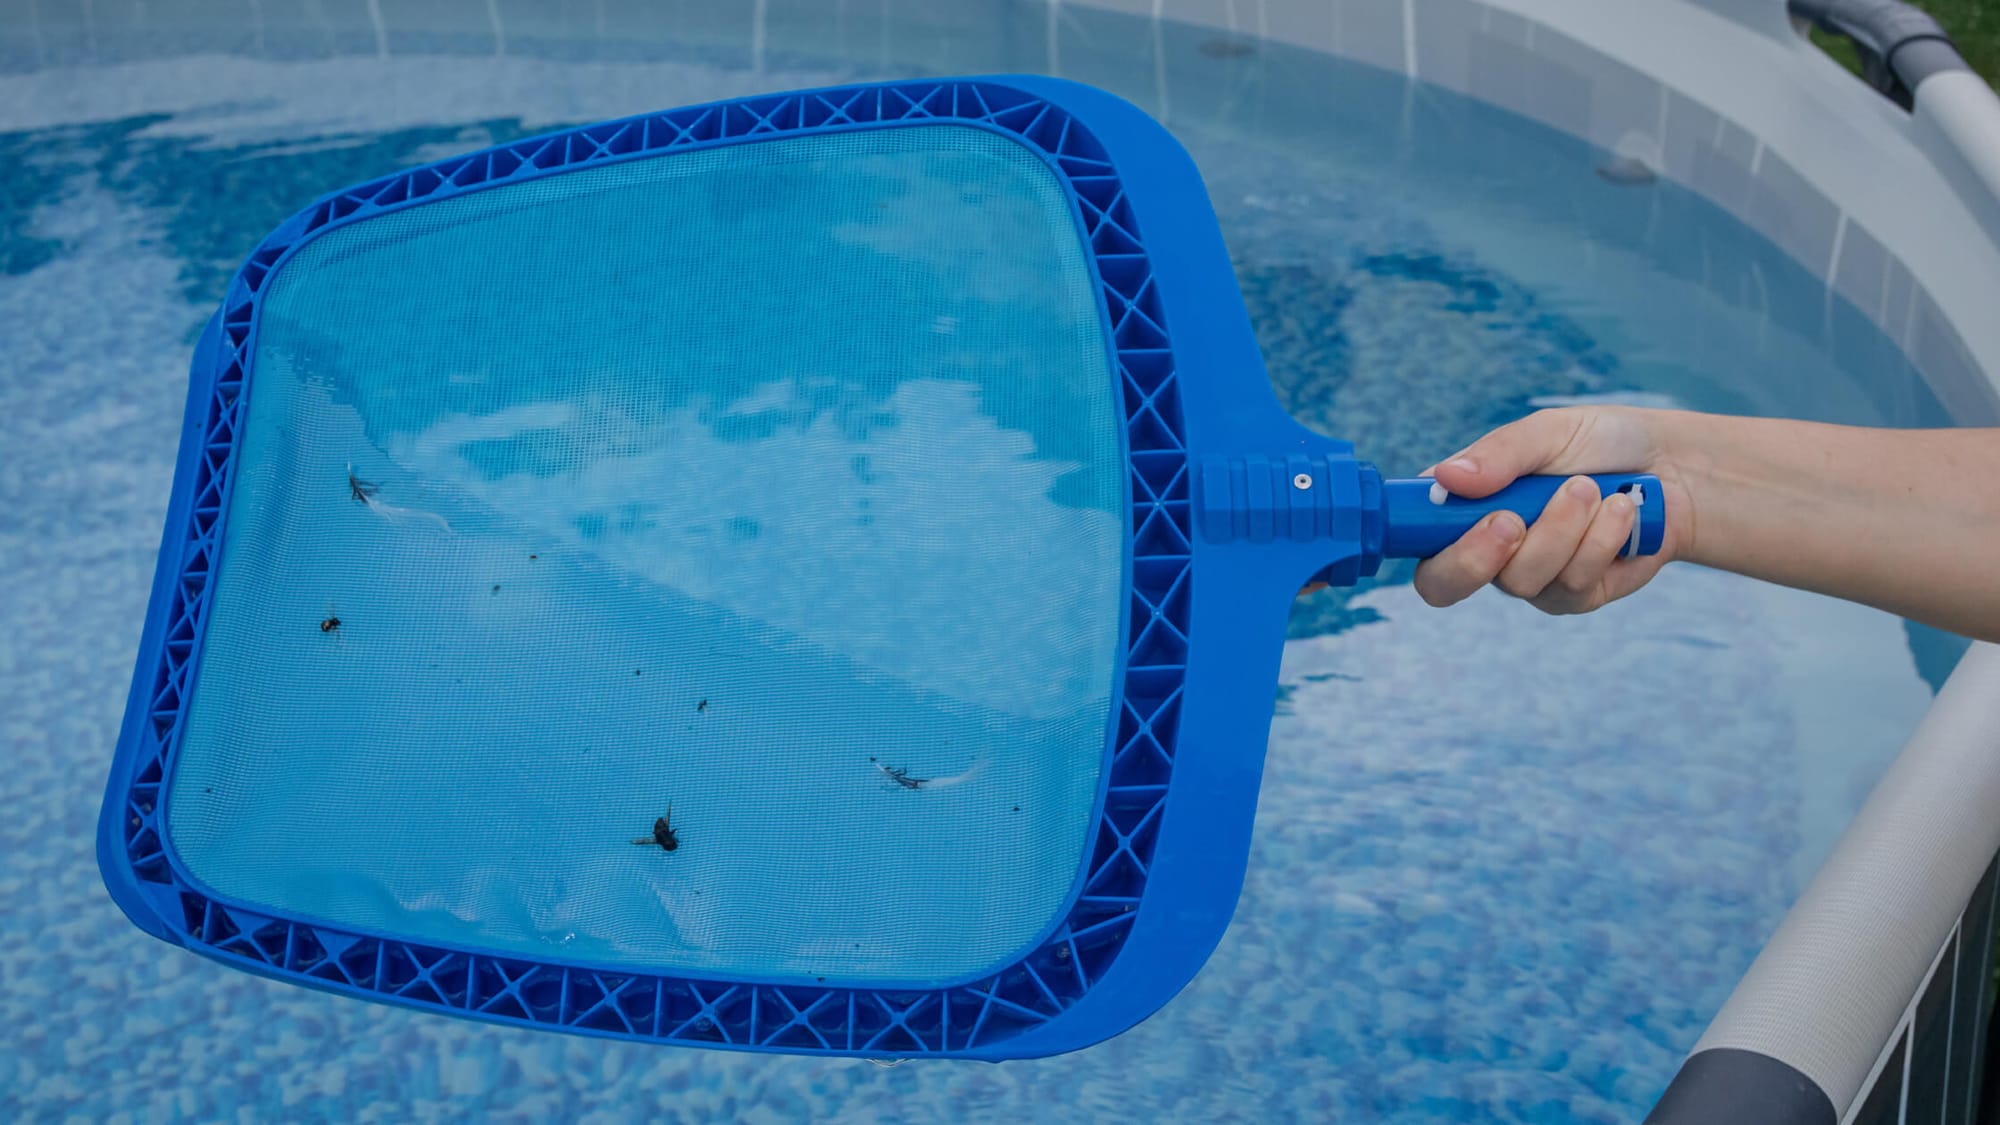
- Clean the Pool: Skim the surface, brush the walls, and vacuum the floor to remove as much organic debris as possible.
- Balance Water Chemistry: Ensure your pH, alkalinity, and sanitizer levels are within their ideal ranges. Phosphate removers work best in well-balanced water.
- Kill Existing Algae: This is critical. Phosphate removers target dissolved phosphates, not the phosphates locked inside living algae. If you have an active algae bloom, you must kill it first (typically by shocking the pool) and clean up the dead algae before treating for phosphates. Always be mindful of how long you need to wait after shocking before swimming.
Step 2:Choose the Right Phosphate Remover
Most phosphate removers are lanthanum-based. Lanthanum chloride is highly effective at binding with orthophosphates. If your test results show extremely high levels (over 1,000 ppb), look for a more concentrated formula designed for heavy-duty removal.
Step 3: Applying the Phosphate Remover
Always read and follow the manufacturer's instructions, as dosage varies by brand and the phosphate level in your pool. Generally, you’ll add the product slowly into the pool's skimmer while the pump is running, or walk it around the perimeter of the pool to ensure even distribution.
Step 4: Filtration and Cleanup After Treatment
This is where the physical removal happens.
- Run Your Filter: Let your pool pump run continuously for at least 24-48 hours after adding the remover. The chemical reaction can cause temporary cloudiness as the phosphates precipitate out of the water—this is normal and means it's working.
- Clean Your Filter: After the water clears, the bound phosphates will be trapped in your filter. You must clean the filter thoroughly to permanently remove them. For sand or D.E. filters, this means backwashing. For cartridge filters, remove and deep-clean the cartridges.
- Vacuum: If you notice fine, white dust settled on the pool floor, vacuum it to waste (if your filter system allows) or use a robotic pool cleaner to capture it.
Step 5: Retesting and Retreating (If Necessary)
After cleaning your filter, retest the water. In many cases, one treatment is enough. If phosphate levels remain high even after a properly executed treatment, a diagnostic approach is needed:
- Under-dosing: Your initial phosphate level may have been far higher than the test kit indicated. The first dose of remover might have been insufficient to handle the total phosphate load. A second treatment may be necessary.
- Continuous Re-contamination: The treatment may have worked, but a persistent source of new phosphates (like heavy runoff from a recently fertilized lawn or fill water with high phosphate content) is re-contaminating the pool.
- Ineffective Filtration: The remover may have successfully bound the phosphates, but your filter isn't capturing the fine particles effectively. This could be due to a worn-out cartridge, channeling in a sand filter, or simply needing a clarifier to help clump the particles together.
- Conflict with Other Chemicals: This is a crucial and often overlooked issue. If you use a phosphate-based metal sequestrant to prevent staining, adding a lanthanum-based remover will be counterproductive. The remover will attack your sequestrant, causing metals like iron or copper to drop out of solution and stain your pool surfaces. In this case, you must choose whether to prioritize stain prevention or phosphate removal, or seek a non-phosphonic metal control product.
Phosphate Removal: When Is It Truly Necessary?
In the world of pool care, you'll find a lively discussion about the importance of phosphate removal. It's helpful to understand both sides to make the best decision for your pool.
The Argument for Phosphate Removal
The logic is simple: if algae needs phosphates to grow, then removing its food source makes the pool less hospitable to algae blooms. Proponents argue that keeping phosphate levels low reduces overall chlorine demand, makes your sanitizer more efficient, and acts as a powerful preventative measure, saving you time and money on chemicals in the long run.
The Counter-Argument: Focus on Chlorine First
Some experts argue that as long as you maintain a proper free chlorine level, algae cannot grow, regardless of the phosphate level. From this perspective, "dead things don't eat," meaning a properly sanitized pool won't allow algae to consume phosphates in the first place. They view phosphate removal as a secondary, and often unnecessary, step.
Finding the Right Balance for Your Pool
So, who is right? Both arguments have merit. Chlorine is, and always will be, your primary line of defense against algae. However, for pools that are prone to recurring algae, have very high phosphate levels, or use a saltwater chlorine generator, managing phosphates can be an invaluable secondary defense. It makes your chlorine's job easier and provides a buffer against future problems if you take care of your saltwater pool correctly.
Preventing Future Phosphate Buildup
Once your levels are down, the goal is to keep them there. Prevention is all about limiting the sources.
Regular Cleaning and Maintenance
The more organic material you have in your pool, the more phosphates will be released as it decomposes.
- Skim leaves and debris from the surface daily.
- Brush walls and steps weekly.
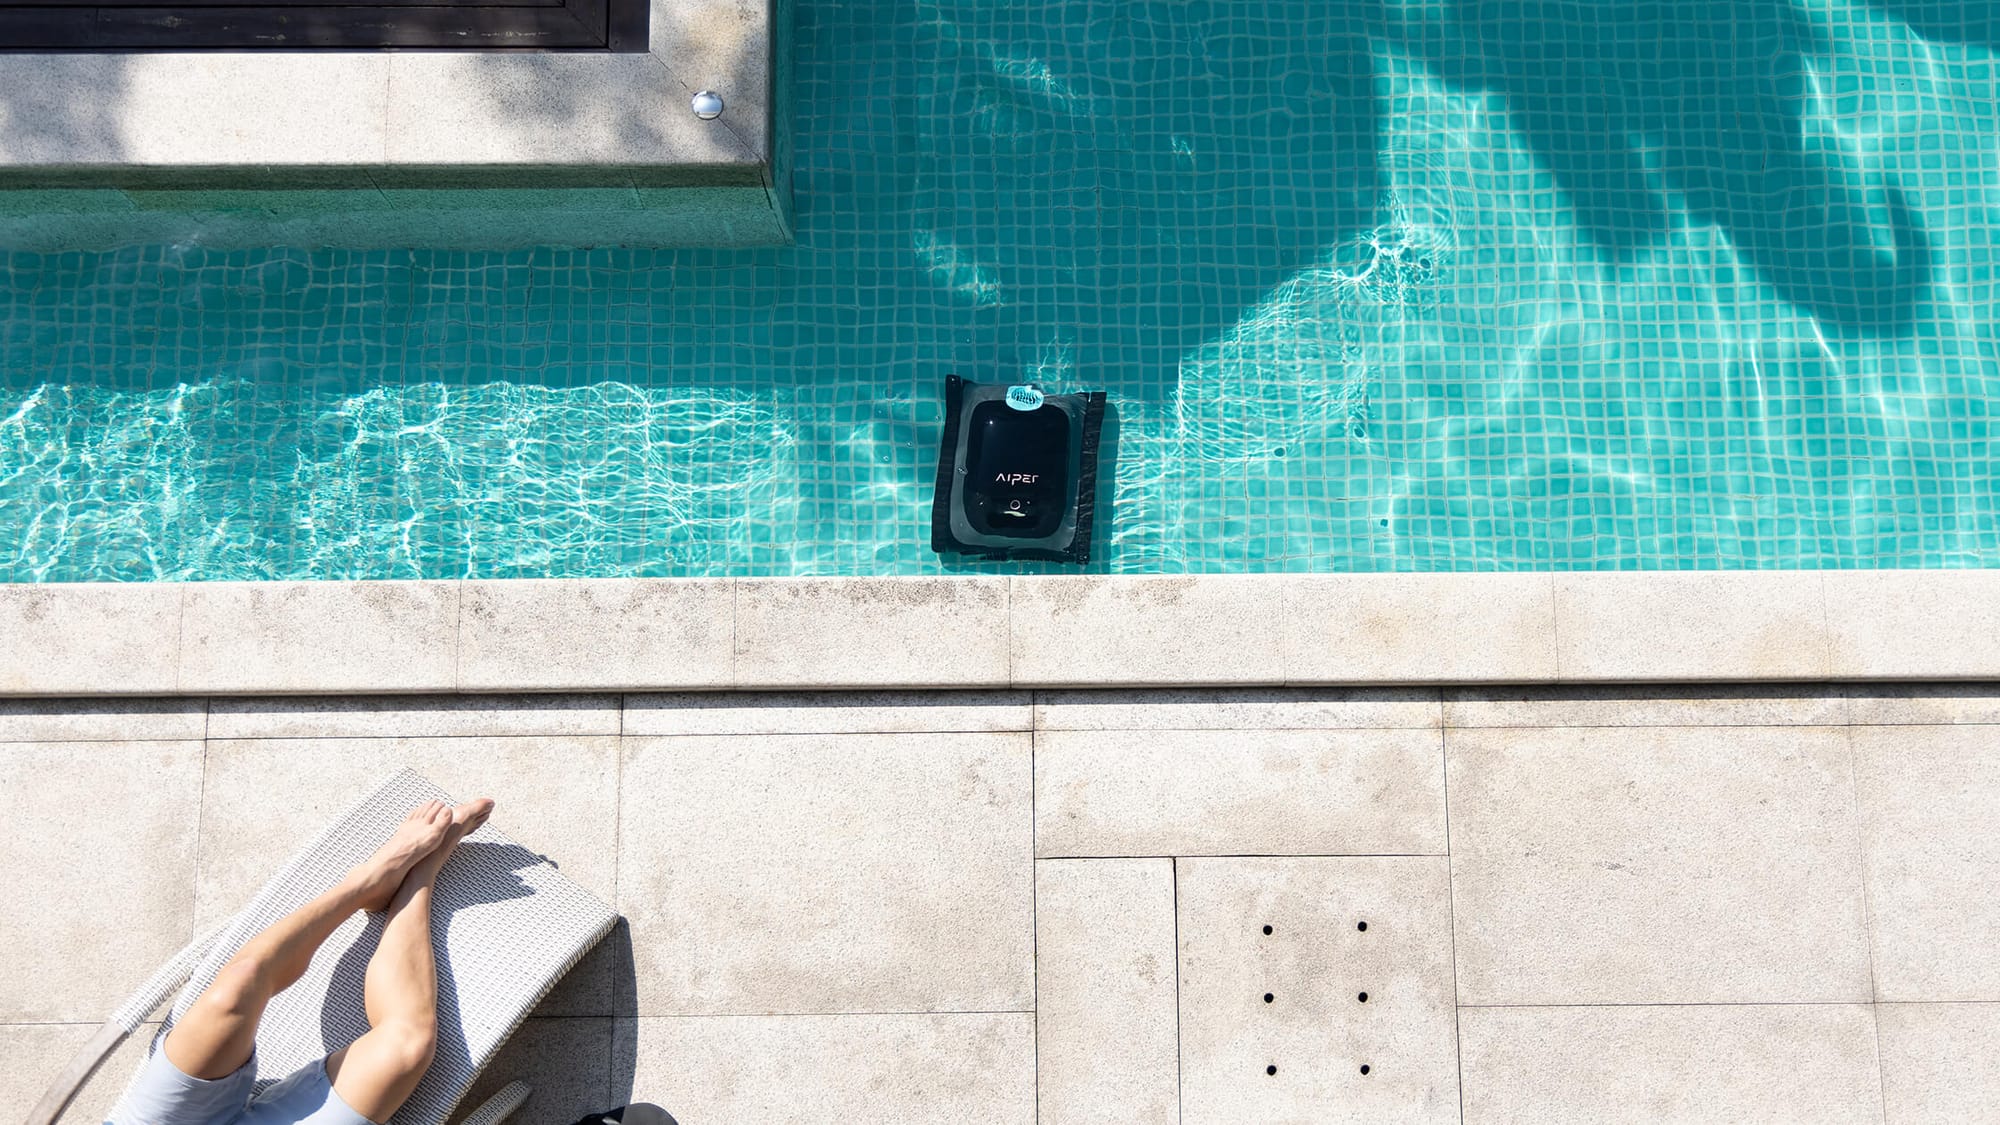
- Vacuum the pool floor regularly. Consistent vacuuming is key to removing contaminants before they break down. A modern robotic pool cleaner, like an Aiper Scuba X1 Pro Max, can automate this task, ensuring fine debris and leaves are captured efficiently and effortlessly. It's a key reason robotic pool cleaners are worth it.
Managing External Sources
- Be mindful of garden runoff. If your lawn or planters are near the pool, avoid over-fertilizing and create barriers to prevent rainwater from washing soil and fertilizer into the pool, which can also damage your lawn.
- Test your fill water. If your tap water has high phosphate levels, consider using a hose filter when adding water.
- Encourage swimmers to rinse off before getting in the pool to wash away residues from lotions, soaps, and hair products.
Incorporating Preventative Products
For pools prone to phosphate creep, using a weekly maintenance dose of a phosphate remover or an enzyme-based product can help break down non-living organics and keep levels in check.
Conclusion: Maintaining a Healthy, Algae-Free Pool
While the debate around phosphates continues, managing them is a powerful tool in your pool care arsenal. By understanding what they are, how to test for them, and how to remove them effectively, you can break the frustrating cycle of recurring algae and high chemical costs. A proactive approach to cleaning and prevention, combined with targeted treatment when necessary, is the surest path to the sparkling, clear water every pool owner deserves. For more ways to simplify your routine, check out our pool maintenance money-saving tips and tricks.
Frequently Asked Questions About Pool Phosphates
Q: How do I lower phosphates in my pool?
The most effective method is a two-step process: add a lanthanum-based phosphate remover chemical to bind the phosphates into solid particles, then run your filter system for 24-48 hours to capture them. The final, crucial step is to thoroughly clean or backwash your filter to physically remove the phosphates from the pool system entirely.
Q: What causes high phosphates in pools?
High phosphates come from a variety of sources that get into your water. The most common culprits are organic debris like leaves and pollen, runoff from fertilized lawns, certain municipal tap waters, and residue from swimmers like lotions and sunscreens.
Q: Does shocking a pool reduce phosphates?
No, shocking does not reduce phosphates. In fact, it can temporarily increase the level of dissolved phosphates in the water. Shocking kills algae, which then decomposes and releases the phosphates it had consumed back into the pool, making them available to fuel a new bloom.
Q: Will pool phosphates go down on their own?
Unfortunately, no. Phosphates do not break down or evaporate like other chemicals. They accumulate in the water over time unless they are chemically treated and physically filtered out.
Q: How can I lower phosphates in my pool naturally?
While a chemical remover is the only way to eliminate existing dissolved phosphates, you can "naturally" prevent new ones from accumulating. This involves diligent maintenance like regularly skimming leaves, using a solar pool cover, preventing lawn runoff, and having swimmers rinse off before entering the pool.
Q: Is a high phosphate level in a pool dangerous?
High phosphate levels are not dangerous to swimmers, pets, or pool equipment. The danger is to the health and clarity of your pool water. By serving as a primary food source for algae, high phosphates can lead to persistent algae blooms and make it much harder to keep your pool sanitized and clear.
Q: What happens if you put too much phosphate remover in a pool?
Adding too much remover won't damage your pool, but it will likely cause significant cloudiness that can take a long time to clear. It’s also a waste of product. The solution is to let your filter run continuously until the water is clear again, followed by a thorough filter cleaning to remove all the excess material.