How to Measure Moisture Content of Soil for a Healthier Lawn

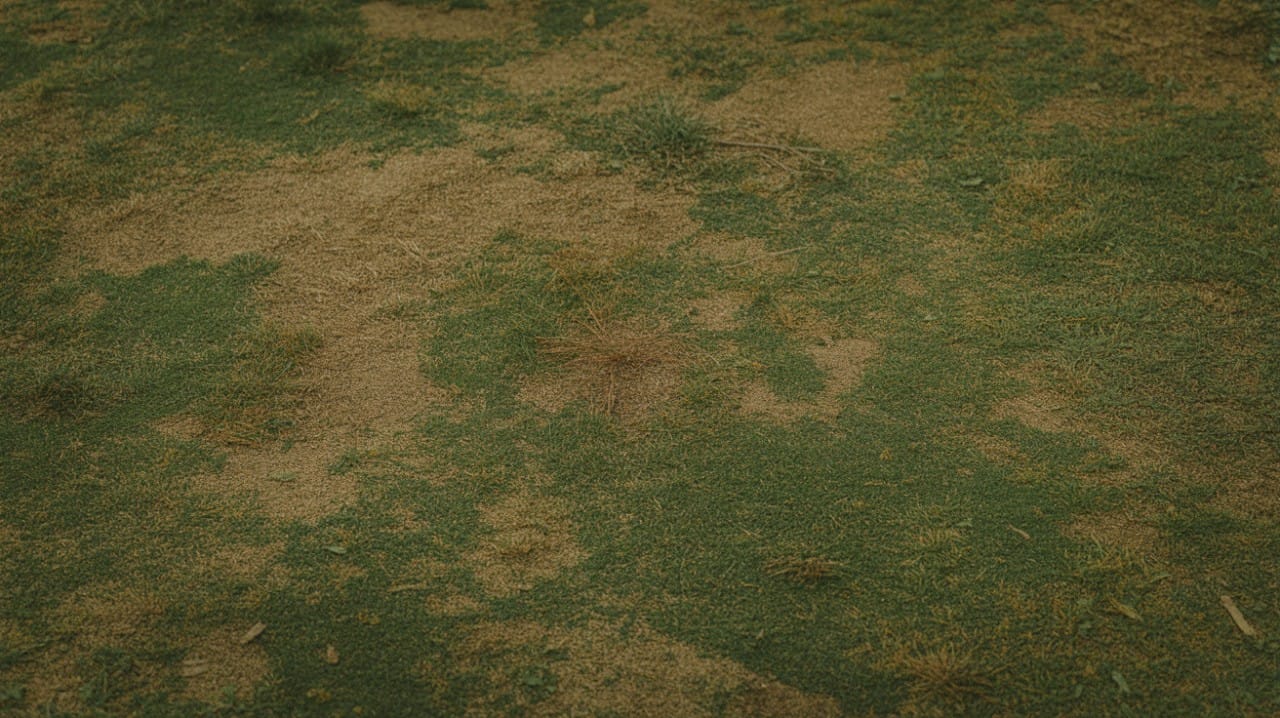
If you’ve ever stared at a brown patch on your lawn and wondered, Is this dry grass or did I overwater it, you’re not alone. Many homeowners guess their way through watering, and that’s usually where problems start. Learning how to measure the moisture content of soil early in the season prevents repeated mistakes. It’s the only reliable way to tell the difference between drought stress, disease, or overwatering.
In this guide, we’ll cover three straightforward methods: the feel test, the classic screwdriver method, and digital meters for precise readings. Each one helps you check soil moisture effectively, without guesswork. By combining these methods, you’ll get a full picture of how your lawn is performing and how best to care for it.
Why Soil Moisture Matters: The Science
Roots need air as much as water. When the soil stays soggy for days, tiny air pockets collapse, and roots can suffocate, a condition called root asphyxiation. This can be just as damaging as drought. People often assume that more water solves everything, but overwatering can shut down a lawn’s ability to breathe.
According to the EPA WaterSense program, nearly half of outdoor water is wasted due to poor watering habits, with overwatering making up a large portion. Not only does this waste water, but it also shows up on your utility bill.
Once you check soil moisture instead of relying on how the grass looks, lawn care becomes less stressful. Wet soil can also wash away nutrients, leaving the grass yellow even after fertilizing. Consistently measuring moisture helps you apply water and fertilizer at the right time, giving your lawn the best chance to thrive all season long.
3 Proven Methods on How to Measure the Moisture Content of Soil
1. The Screwdriver Test (The DIY Standard)
Most people try the screwdriver test for soil first because it is quick and doesn’t require any tools you don’t already have.
- Grab a 6-inch screwdriver.
- Push it straight into the soil.
If it goes in without a fight, the soil has enough moisture. If you have to put your back into it, the ground is dry.
It’s simple and honest. The downside is that it only gives you a yes or no answer. Still, as a fast way to test lawn hydration before watering, it works pretty well.
This method is also great for checking multiple spots quickly. Just pick a few random areas across your lawn to get an average idea of moisture. Testing multiple areas in your yard ensures you account for shaded spots, slopes, and uneven soil.
2. The "Squeeze" Test (The Tactile Method)
If you don’t mind getting a little dirt under your nails, this one tells you a lot about the root zone.
- Dig down about 6 inches.
- Take a handful of soil from the bottom and squeeze.
- Now look at what your hand is telling you.
Dry soil falls apart quickly. Perfectly moist soil sticks together lightly but breaks when nudged. Soil that is too wet will feel heavy, sticky, and might even drip. This method gives you a clearer picture of root zone moisture than checking the surface ever will.
A little trick: try to perform this test in different parts of the lawn. Sometimes, low spots or shaded areas stay wetter than sunny, raised patches. Try this in shaded and sunny areas to see how moisture varies across your lawn. Performing the test in low spots and raised areas helps you fine-tune watering for the whole yard.
3. Using a Digital Soil Moisture Meter (Precision)
If you want something more exact, a digital soil moisture meter is the way to go. It is handy for people who like numbers more than gut feeling.
Insert the probe at about a 45-degree angle. Let it settle for a moment and read the scale. Most of them run from 1 to 10. Levels from 1 to 3 mean Dry. A reading between 4 and 7 is the sweet spot for most lawns. Anything above that means the ground is holding more water than it needs.
This tool makes it easier to prevent overwatering and catch early signs of root rot before it becomes a whole project.
Pro tip: Clean the probe after each use to keep readings accurate, especially if your soil has a lot of clay or sand.
Optimal Moisture Levels by Grass Type
Table: Ideal Watering Frequency & Moisture Needs
| Grass Type | Drought Tolerance | Optimal Soil Condition | Watering Frequency (Peak Summer) |
|---|---|---|---|
| Bermuda | High | Moderate Dryness Allowed | Every 4-6 days |
| Fescue | Low | Consistently Moist | Every 2-3 days |
| St. Augustine | Moderate | Moist (Never Saturated) | Every 3-5 days |
| Zoysia | High | Moderate | Every 5-7 days |
| Kentucky Blue | Low | Consistently Moist | Every 2-3 days |
Bermuda and Zoysia don’t get stressed as quickly, so they can wait longer between watering. Fescue, on the other hand, likes steady moisture, so it needs more frequent checks and a closer eye.
Remember, soil type also plays a role. Sandy soils drain quickly, while clay holds water longer, so adjust these watering intervals slightly based on your yard’s soil.
Common Mistakes When Measuring Soil Moisture
A lot of people check only the top inch of soil. The problem is that the sun dries out the surface way faster than the root zone. If you water based on that thin layer, you’ll almost always end up overdoing it.
Another easy mistake is checking right after it rains. Rain can make the surface look soaked while the deeper soil hasn’t had time to absorb anything. Give it about a day before testing again.
One more thing: don’t ignore temperature. On hot days, soil dries faster, so testing at the same time of day every few days gives the most consistent results.
Stop Guessing: The Smart Irrigation Solution (Brand Tie-in)
If you’re busy or just tired of manually checking soil with a screwdriver every other day, Aiper IrriSense offers a smarter alternative.
Instead of requiring you to measure soil constantly, the Aiper IrriSense Smart Sprinkler Controller prevents moisture issues before they happen. It uses real-time weather intelligence—monitoring local rainfall and evaporation rates—to automatically adjust your watering schedule.
If rain is in the forecast or the ground is already saturated from a storm, IrriSense skips the watering cycle. This delivers true water conservation and precise hydration management without you needing to get your hands dirty. It’s the difference between reactive checking and proactive, smart lawn care.
Conclusion
Once you get into the habit of measuring the moisture content of soil the right way, everything gets easier. You avoid disease, spend less on water, and have a healthier lawn throughout the season. Ready to take the guesswork out of your lawn care? Ensure your soil stays perfectly hydrated with the Aiper IrriSense system. Check out our smart solutions today.
Remember, even a few minutes spent checking your lawn each week can prevent headaches later and keep your grass lush all summer.
FAQs
Q: How deep should I measure soil moisture?
Answer: Aim for the root zone, about 6 inches deep for most yards.
Q: Can I use a wood moisture meter on soil?
Answer: Not really. Wood meters use a different calibration. Soil needs a dedicated probe.
Q: What is the ideal moisture percentage for soil?
Answer: Most lawns thrive around 25 to 45 percent, depending on whether the soil is sandy or more clay-heavy.
References
- Clemson University Cooperative Extension Service. (2019, October 7). Watering Lawns. Home & Garden Information Center. https://hgic.clemson.edu/factsheet/watering-lawns/
- Environmental Protection Agency. (2024, May 28). Statistics and Facts. WaterSense. https://www.epa.gov/watersense/statistics-and-facts
- NC State Extension. (n.d.). Pythium Root Rot in Turf. NC State Extension Publications. https://content.ces.ncsu.edu/pythium-root-rot-in-turf
- University of Florida IFAS Extension. (2017, February 1). Watering Your Florida Lawn. EDIS. https://edis.ifas.ufl.edu/publication/LH025