How to Winterize an Above Ground Pool with a Sand Filter (Step-by-Step Guide)

As winter approaches, every pool owner faces the same challenge: protecting their pool equipment from the cold. Improper winterization is one of the most common causes of cracked filter tanks, damaged pumps, and costly spring repairs. If you own a sand filter system, this risk doubles, as the slightest trace of trapped water can cause severe damage once temperatures drop.
This comprehensive guide on how to winterize an above ground pool with a sand filter walks you through each step, from pre-winter preparation to safely shutting down your filtration system. By following these instructions, you’ll ensure your pool and sand filter remain in top shape until the next swimming season.
How to Prepare Your Pool Before You Winterize
Before you even touch the sand filter, proper preparation is essential. Skipping this part can make all your winterizing efforts go to waste. Clean water and balanced chemistry form the foundation of a well-preserved pool through the cold months.
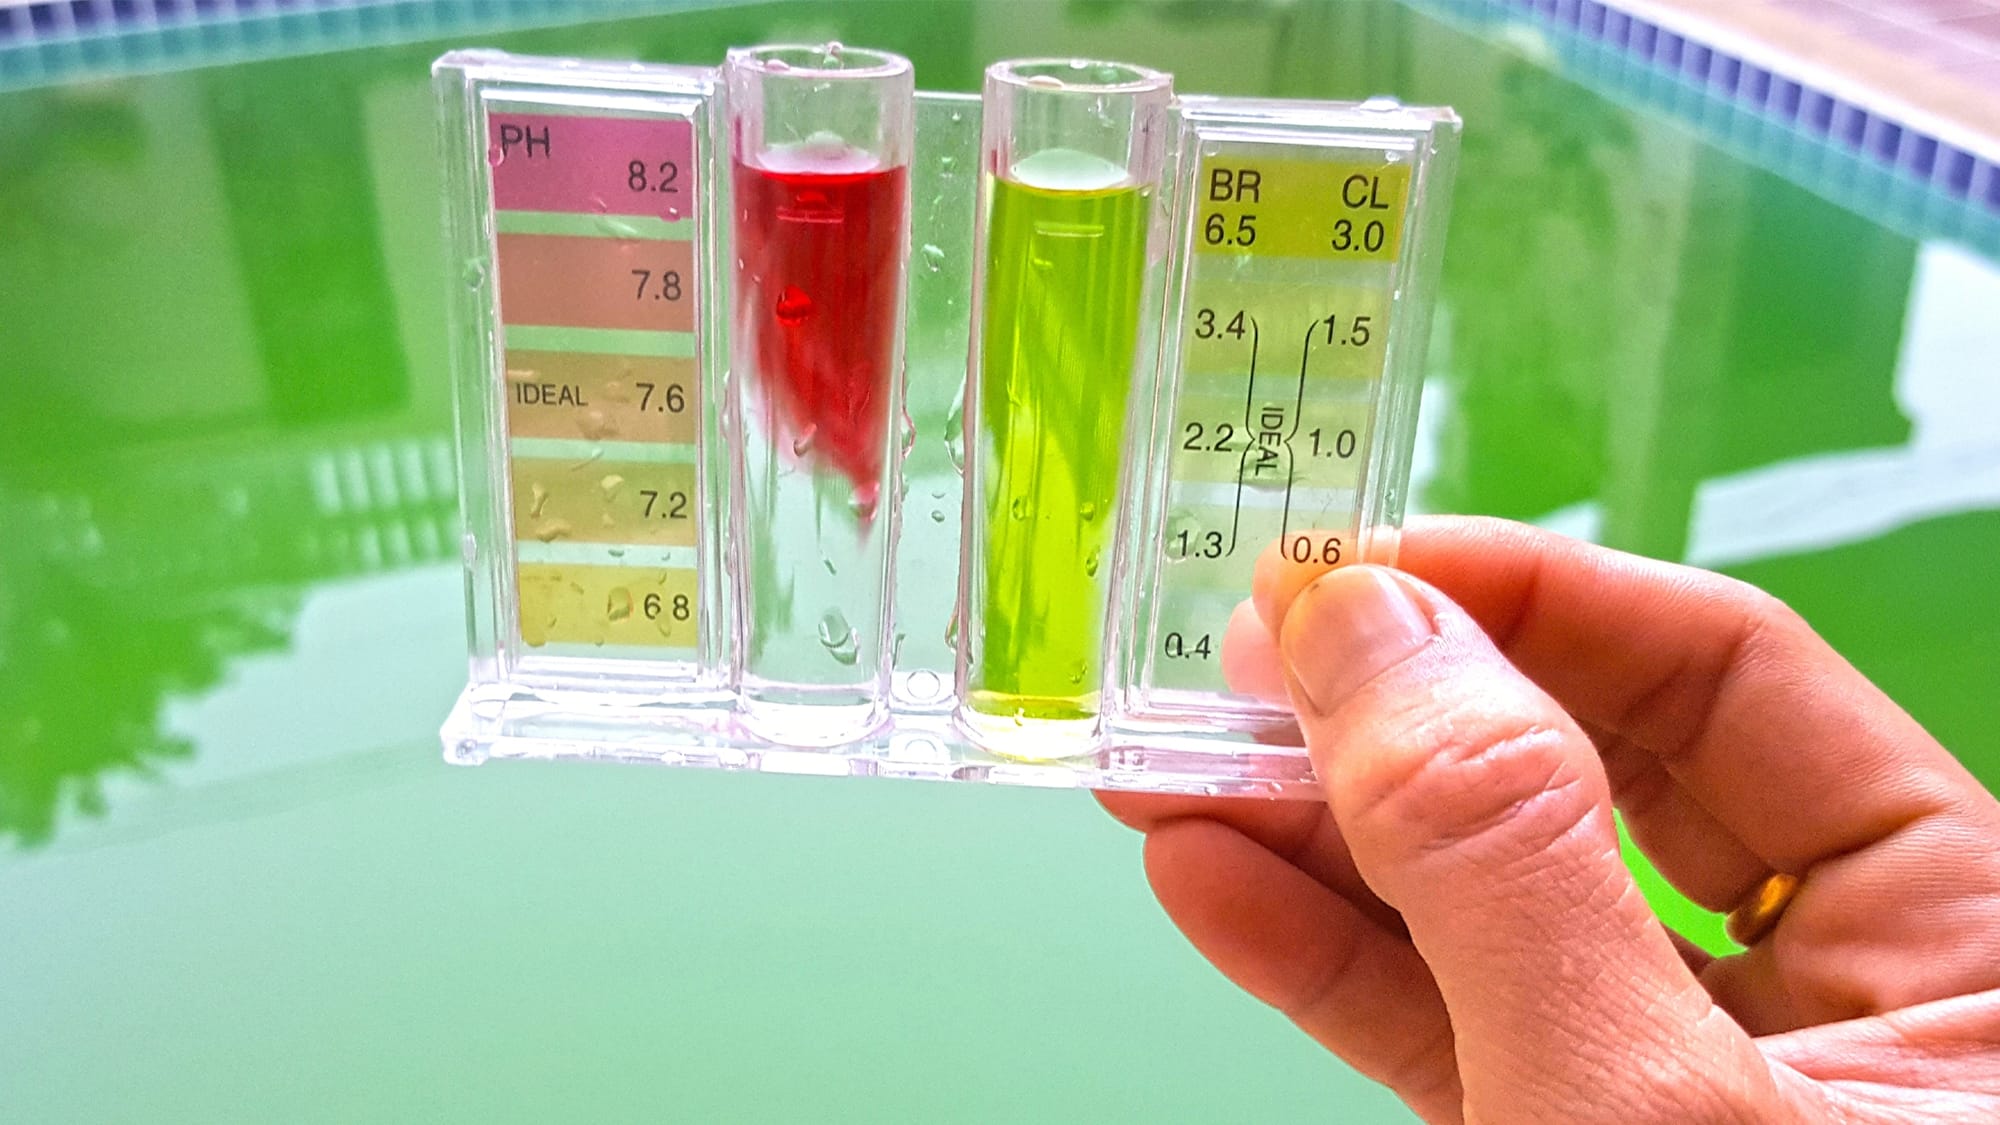
Water Testing and Balancing (The Final Balance)
Start by testing and balancing your pool water one last time before closing. A good target for pH is around 7.4–7.6, and for calcium hardness, about 200–400 ppm. Many industry sources recommend keeping total alkalinity in the range of roughly 80–120 ppm (though some extend up toward 150 ppm for winter conditions). According to guidance from the Pool & Hot Tub Alliance and related standards, maintaining proper balance is critical to preventing corrosion, etching, and scale buildup during long-term dormancy.
Deep Cleaning and Vacuuming
Next, remove all leaves, debris, and insects from the pool surface and floor. Dirt left behind now can break down and stain your liner or clog your filter later. For the most efficient cleaning, consider using a robotic pool cleaner. It scrubs, vacuums, and collects debris far better than manual vacuums, ensuring your pool bottom is spotless before winter chemicals are added.
Applying Winterizing Chemicals
Once your pool is balanced and clean, it’s time to add the right chemicals. Start with a chlorine shock treatment to eliminate bacteria, then follow with a long-lasting algaecide to prevent green or mustard algae growth. Finally, include a stain and scale preventer to stop mineral deposits from forming over winter.
Mix all chemicals thoroughly throughout the pool water using your circulation system for at least 6–8 hours before shutting down. This step ensures even distribution and full effectiveness.
The Crucial Process: Winterizing Your Sand Filter System
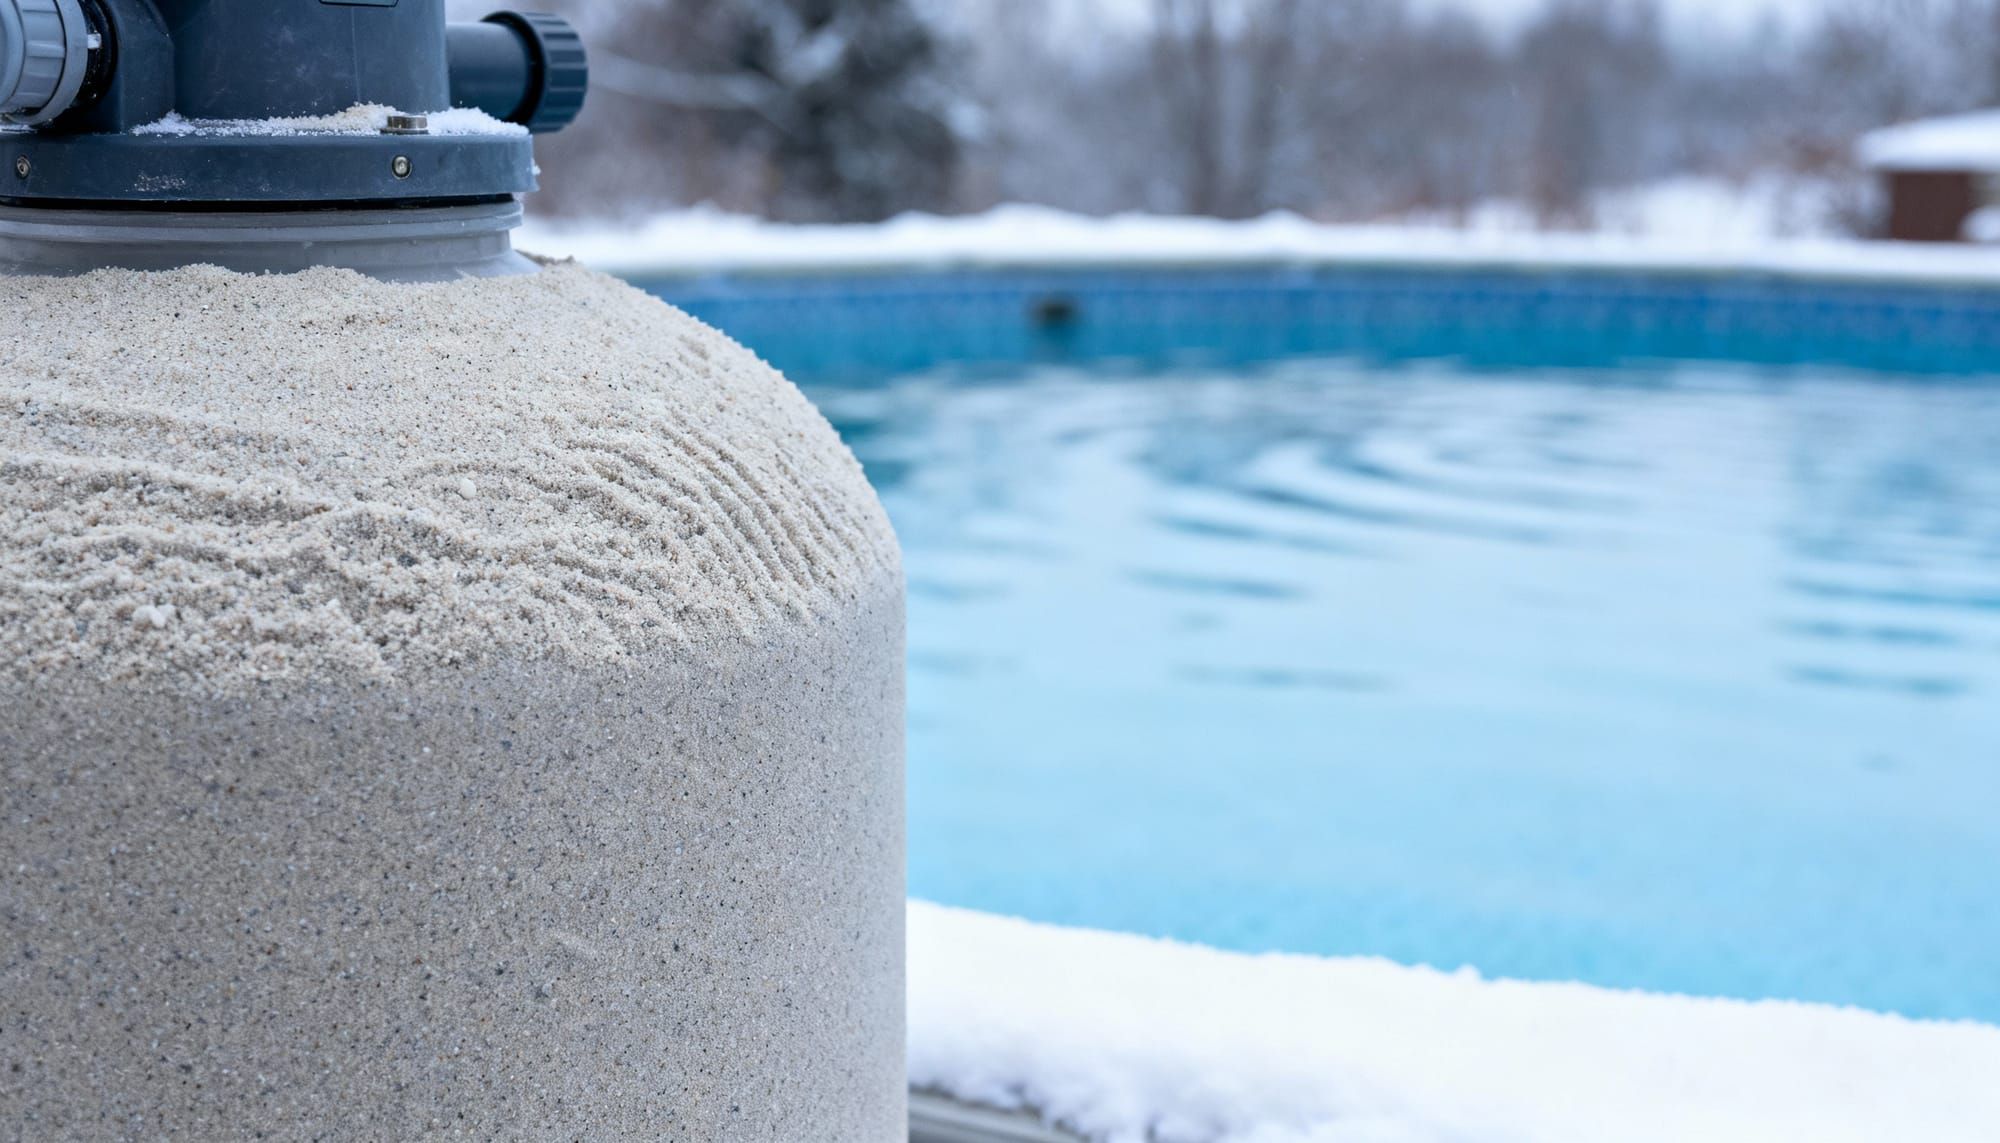
Your sand filter is the heart of your above ground pool system, and unfortunately, it’s also one of the most fragile components when temperatures plummet. Because water expands as it freezes, even a few ounces of trapped moisture can crack the tank or distort the multiport valve. The following steps explain exactly how to winterize your above ground pool with a sand filter to protect it from freeze damage.
Step 1: Backwash the Sand Filter
Start by running a full backwash cycle to flush out trapped dirt and debris from the sand bed. Clean sand prevents clumping and mildew during months of inactivity. Allow the filter to rinse thoroughly before turning off the pump.
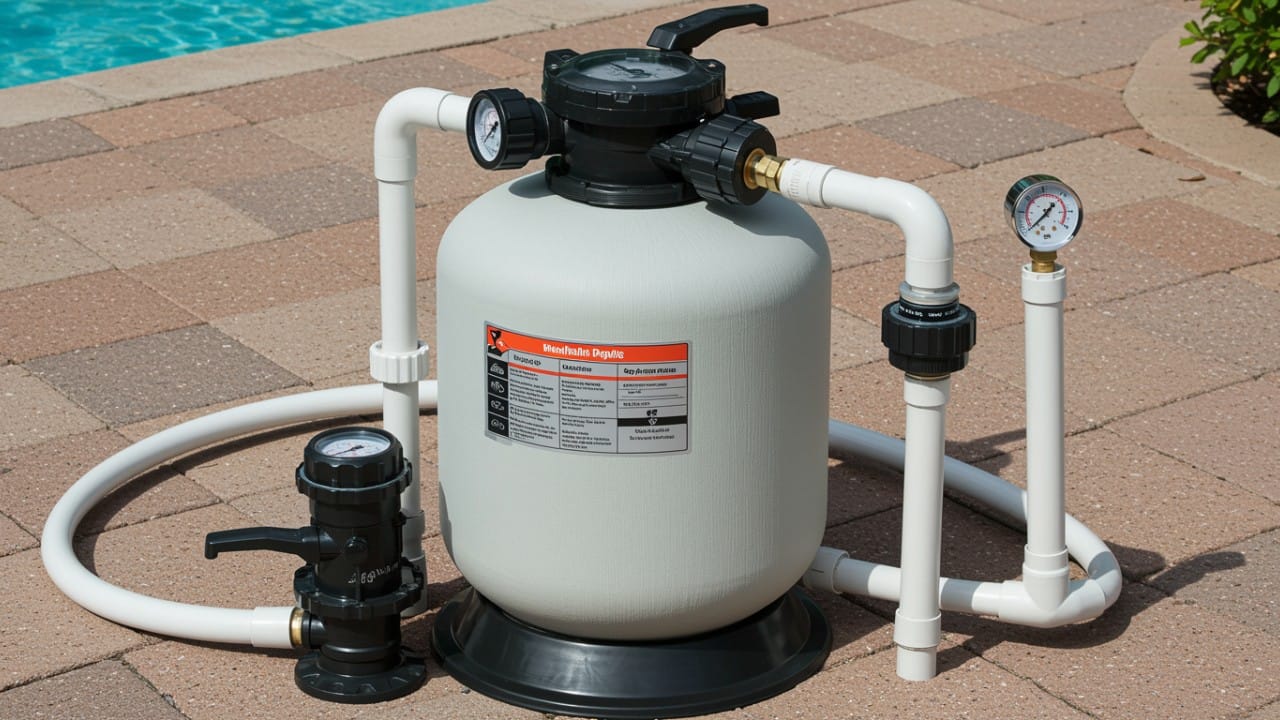
Step 2: Drain the Filter Tank
Locate the drain plug at the bottom of the sand filter tank and remove it. Let every drop of water drain out. Tilt the tank gently to make sure no moisture remains inside.
Warning: Any water left in the tank can freeze and expand, causing costly cracks or leaks in the spring.
Step 3: Remove and Store the Multiport Valve (MPV)
Detach the multiport valve from the top of the filter and store it indoors. Before storing, set the handle to a position between two settings to relieve pressure on the internal gaskets — this simple trick helps them last longer. Keep the valve in a dry place, away from direct sunlight.
Step 4: Dealing with the Sand (To Replace or Not to Replace)
Unless your sand is more than 3–5 years old, you don’t need to replace it immediately. However, it’s best to deep-clean the sand before closing. If you prefer, plan the replacement for next spring. What’s most important is ensuring the sand inside the filter is completely dry before you cover the tank. Damp sand will freeze into hard clumps, potentially damaging the internal laterals.
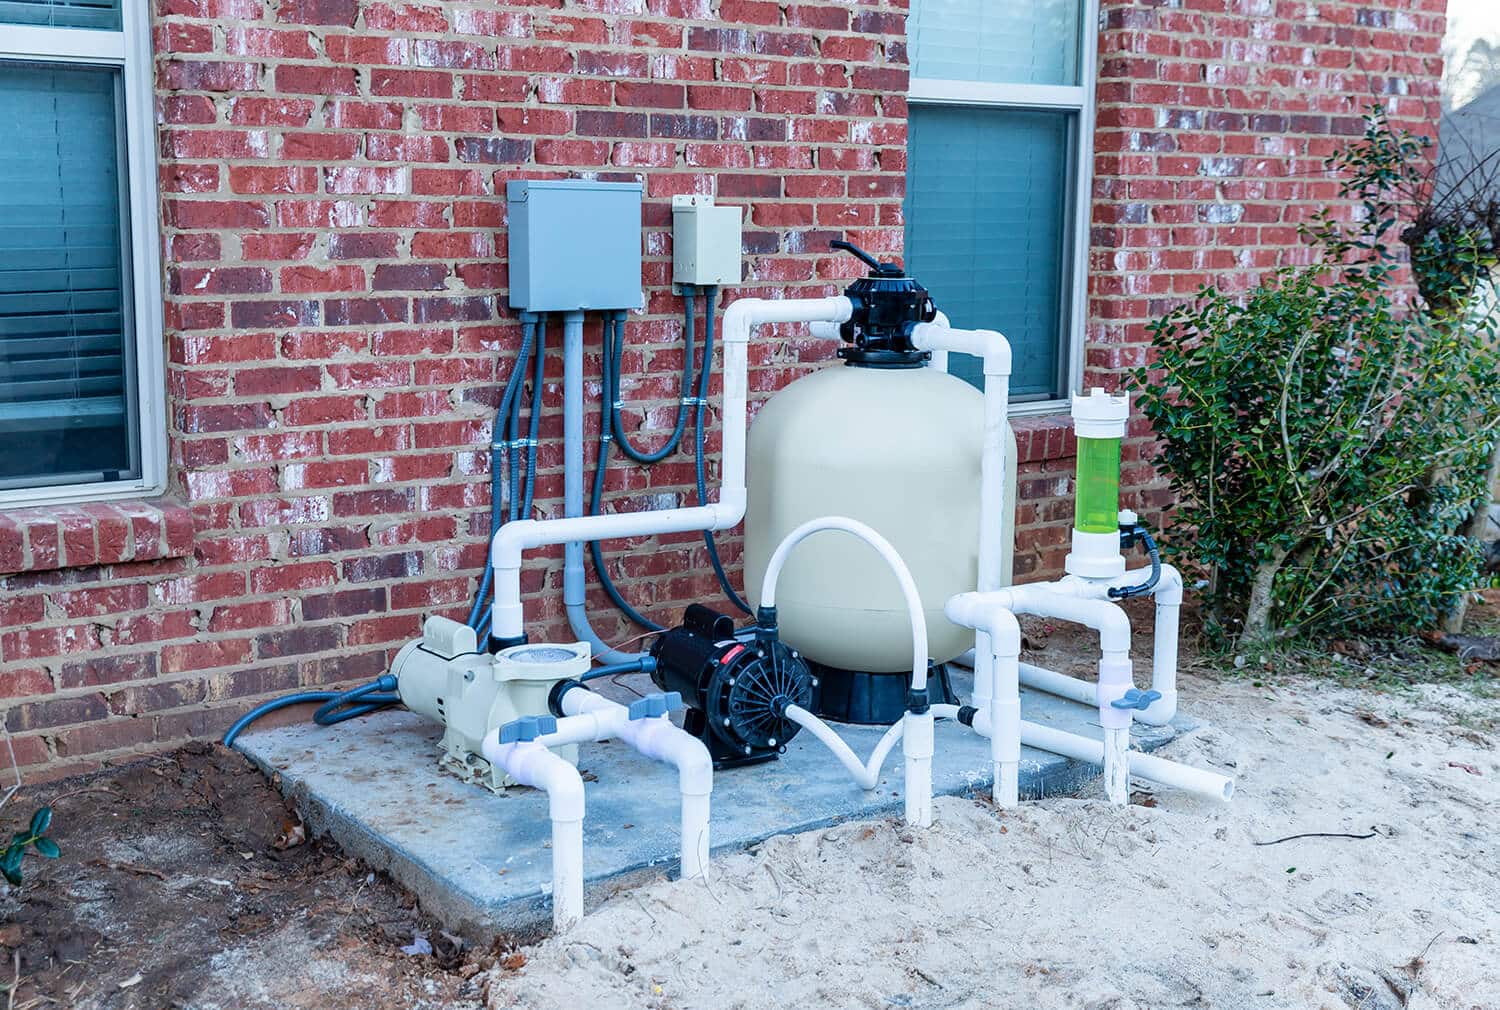
Step 5: Draining and Winterizing the Pump and Skimmer Lines
Remove the drain plugs from your pump and empty all hoses and pipes connected to the filter system. Use a shop vacuum or air blower to force any remaining water out of the lines, as this step is non-negotiable. Once dry, store your hoses and fittings indoors or in a waterproof container to prevent cracking.
Preventing Costly Freeze Damage: Common Mistakes & Safety Tips
Take the drain plugs out of your pump drain off all of the hoses and pipes that are attached to the filter system. Blow out the rest of the water in the lines using a shop vacuum or air blower, and this is an absolute requirement. After drying, keep your hoses and fittings in a place that is indoors, or in a waterproof box to avoid cracking.
Preventing Costly Freeze Damage: Common Mistakes & Safety Tips
Even those who have been able to own a pool commit little mistakes that enable them to spend much repairing the spring. Avoid these common pitfalls:
- Mistake 1, Failing to entirely drain the MPV: The first to tear is the litterable rubber gaskets and seals that are within the valve in case of any water that it left behind.
- Mistake 2, Applying automotive antifreeze: Do not apply car antifreeze in pool lines. To prevent any possibility of corroding the plumbing lines, use non-toxic RV/ Marine-grade antifreeze, but not in the sand tank.
- Mistake 3, Leaving the heater or the chlorinator: Disconnect any equipment that may be attached like a heating system or chlorinators and close the system. Minor quantities of water will spoil these parts.
The Winterizing Checklist & Sand Filter Troubleshooting Table
Your 10-Point Winterizing Checklist
- Test and balance pool chemistry.
- Deep clean and vacuum the pool.
- Add winter shock, algaecide, and stain preventer.
- Backwash and rinse the sand filter.
- Drain filter tank completely.
- Remove and store the multiport valve indoors.
- Drain the pump and blow out all lines.
- Add non-toxic antifreeze to plumbing (optional).
- Cover and secure your pool with a winter cover.
- Store all hoses, cleaners, and accessories indoors.
Sand Filter Maintenance & Troubleshooting Table
| Problem | Cause | Winterizing Solution |
|---|---|---|
| Water Won’t Drain | Clogged drain plug or tank blockage. | Remove the drain plug and use a wire or stiff brush to clear sand or calcium buildup. |
| Filter Valve Is Stiff | Old gaskets or pressure on the handle. | Store the valve indoors, handle between two settings. Lubricate O-rings in spring. |
| Cloudy Water Post-Shut Down | Poor chemical balance or weak algaecide. | Needs immediate attention. Re-test water, add another dose, and circulate briefly before full closure. |
| Pump or Motor Frozen | Water trapped inside housing or impeller. | Never force it on. Let it thaw naturally. Next year, drain and store indoors. |
| Sand Is Clumped or Hardened | High calcium or minerals left in sand. | Replace sand in spring and backwash thoroughly before next winter. |
Conclusion: A Smooth Start Next Spring
Draining, cleaning, and storing your sand filter properly ensures you’ll open your pool next spring without surprises. A little effort now protects your investment and often meets manufacturer warranty conditions for equipment care.
Before packing up, remember to store your pool cleaner alongside your drained filter equipment, and when your pool is officially closed, tag us in your pool-closing photos. Here’s to a stress-free start when warm weather returns!